DIY Interior Detailing Checklist
As an Amazon Associate I earn from qualifying purchases.
Detailing your own car interior is satisfying, saves money, and gives you full control over the results. The key is working in the right order so you never redo a step or drag dirt onto a surface you already cleaned. This checklist takes you from the first vacuum pass through surface cleaning, glass, and a final deep clean, so beginners can finish with a cabin that looks and smells genuinely fresh.
Gather Your Supplies First
Before you touch anything, lay out everything you will need so you are not hunting for a cloth mid-job with wet hands. A basic interior kit covers cleaners, microfiber towels, and applicators for the main surfaces, and having it ready keeps the whole process flowing from one step to the next.
Starting organized also helps you work top to bottom without backtracking. When every product is within reach, you can move through the cabin in a logical order instead of jumping around, which is exactly what keeps dirt from spreading onto areas you have already finished.
Vacuum and Dust From the Top Down
Begin with a thorough vacuum of the seats, carpets, and mats, moving loose crumbs and grit out before you introduce any liquid. Cleaning wet over dry grit just grinds it into the fabric, so this dry pass always comes first. Work the vacuum into seat gaps and under the seats where debris collects.
Loosen dust from vents, seams, and textured trim with a soft brush as you go, sweeping it toward the vacuum nozzle. Agitating these tight areas releases dust that suction alone skips over, and doing it now means the surface cleaning that follows is far more effective.
Clean Hard Surfaces and Trim
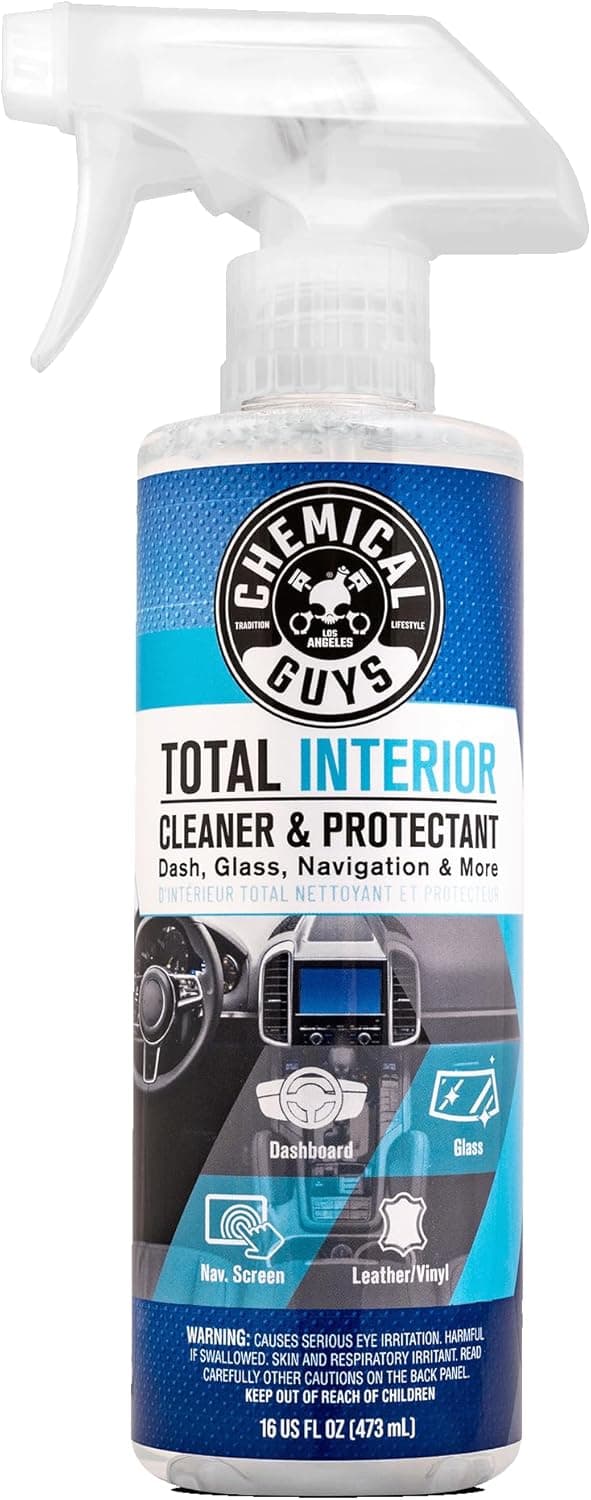
With the loose dirt gone, wipe down the dashboard, console, door panels, and other hard surfaces with a cleaner made for automotive interiors. Use a lightly dampened microfiber cloth and work one panel at a time so nothing dries with streaks before you can buff it.
Choose a finish that matches your taste, whether a natural matte look or a light satin sheen, and avoid heavy glossy dressings that leave surfaces slick. A clean, low-glare dashboard not only looks better but also cuts down on reflections in the windshield while you drive.
Finish the Interior Glass
Save the glass for after the surfaces are done, since cleaning trim can throw dust and overspray onto the windows. Use a proper glass cleaner and a dedicated glass microfiber towel on the inside of the windshield, windows, and mirrors for a clear, streak-free view.
Spray the cleaner onto the cloth instead of the glass to keep overspray off your freshly cleaned dashboard. Wipe with overlapping passes and buff dry with a clean side of the towel, checking the glass from different angles to catch any haze you missed.
Deep Clean for a Refreshed Finish
For a truly thorough detail, add a deep-cleaning step that reaches into fabric, vents, and crevices ordinary wiping cannot touch. A steam cleaner loosens embedded grime and sanitizes surfaces using heat rather than a pile of chemicals, which is ideal for upholstery, air vents, and tight seams.
This final pass is what separates a quick tidy-up from a proper detail. Follow it by letting everything dry with the doors open, and your interior will feel and smell noticeably cleaner, ready to maintain with the lighter weekly steps in this checklist.