Buying guide
The Paint Correction and Protection Setup
As an Amazon Associate I earn from qualifying purchases.
Once the safe-wash routine is second nature, paint correction is the next level: actually removing the swirls and scratches that no wax can hide, then locking the flawless finish under a durable coating. This is a bigger commitment of money and time, but it is what turns a clean car into a showroom one. The workflow is decontaminate, correct, then protect. A beginner-safe dual-action polisher with the right pads and a one-step compound removes light-to-moderate swirls with minimal risk, and a proper ceramic coating applied afterward makes the correction last. This setup pulls the tested picks for each step; start with a one-step correction on a test panel before committing to the whole car, and always protect corrected paint the same day, since bare polished clear coat has no protection.
The quick checklist
- ✓A beginner-safe dual-action polisher
- ✓A color-coded pad kit (cutting to finishing)
- ✓A one-step compound-polish to start, dedicated compound later
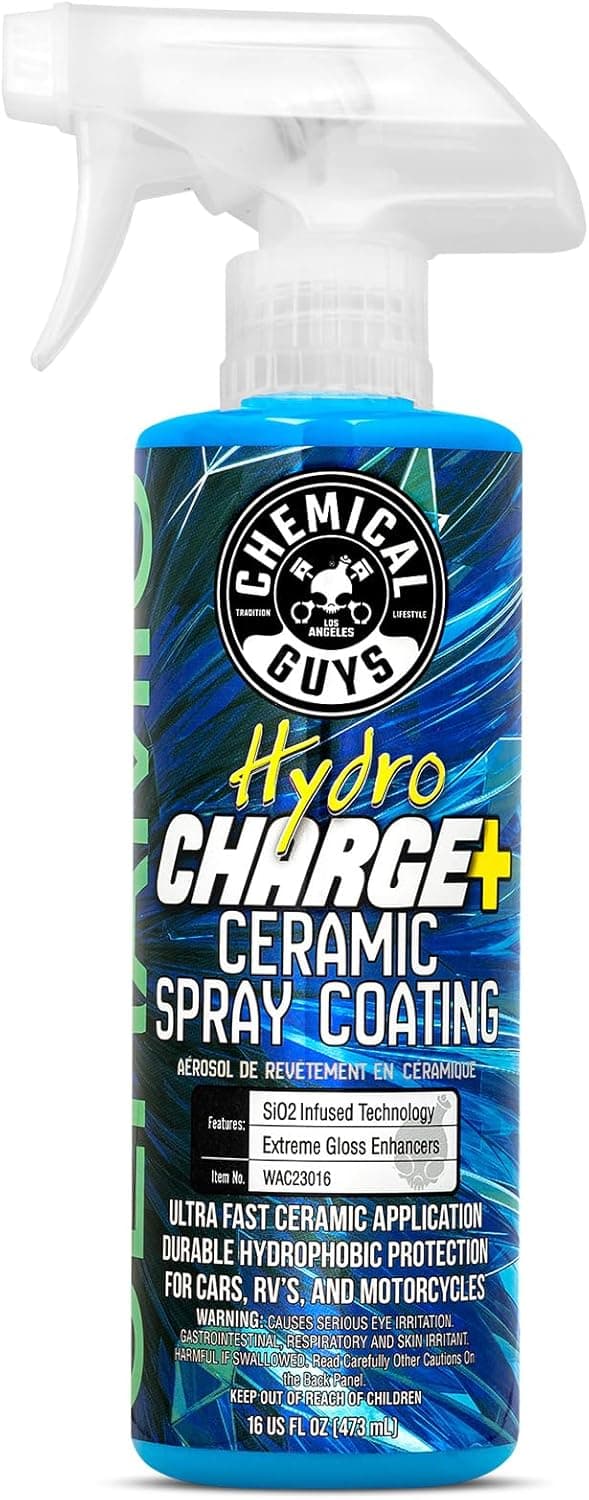
- ✓A DIY ceramic coating or SiO2 spray
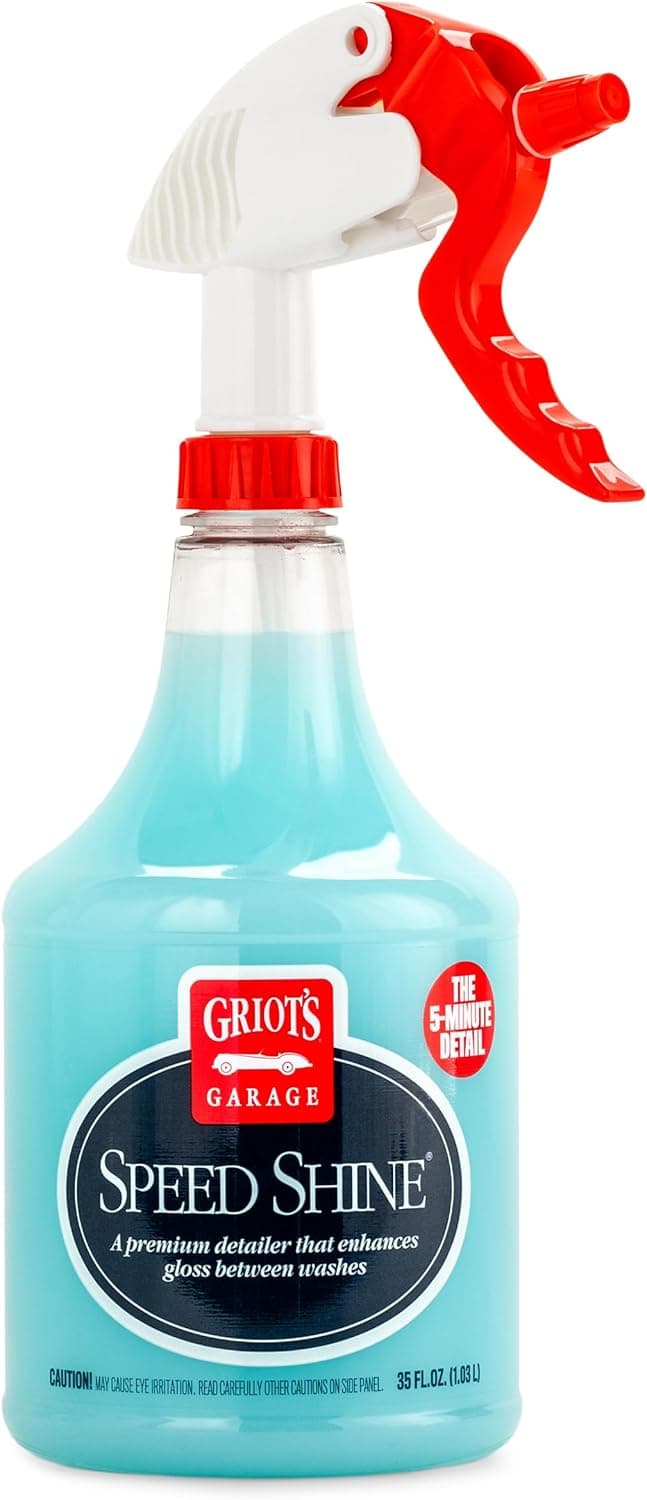
- ✓A quick detailer for maintenance and coating top-up
- ✓Coating-safe pH-neutral wash soap
The polisher (start beginner-safe)
Full guide →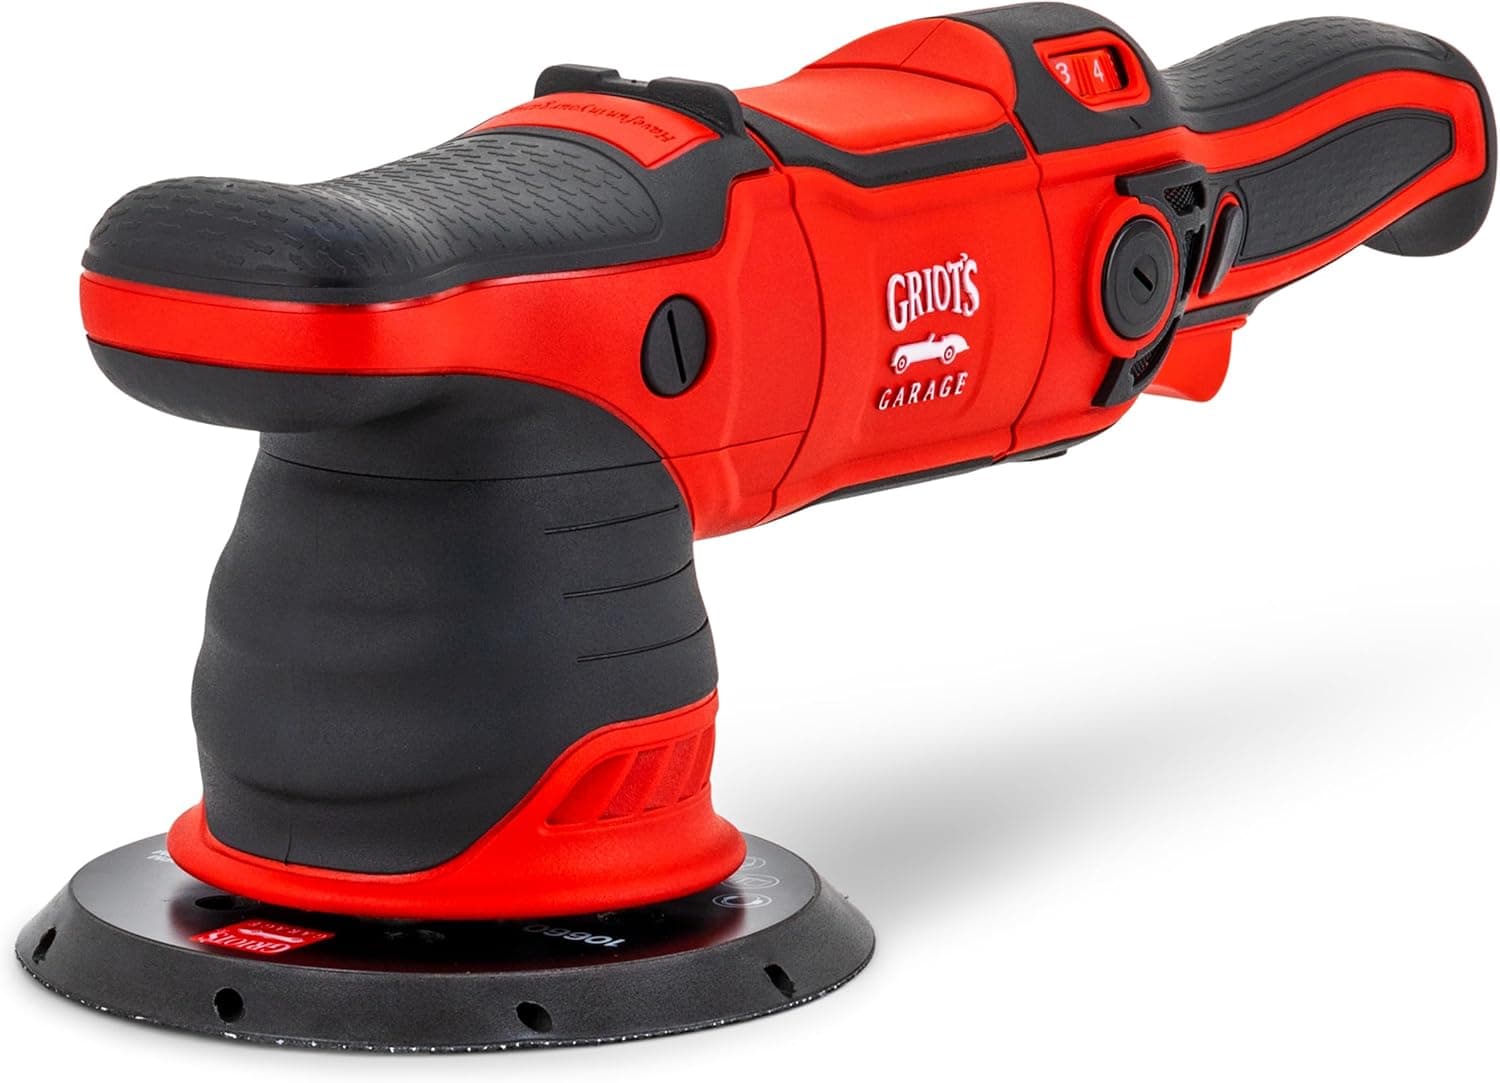
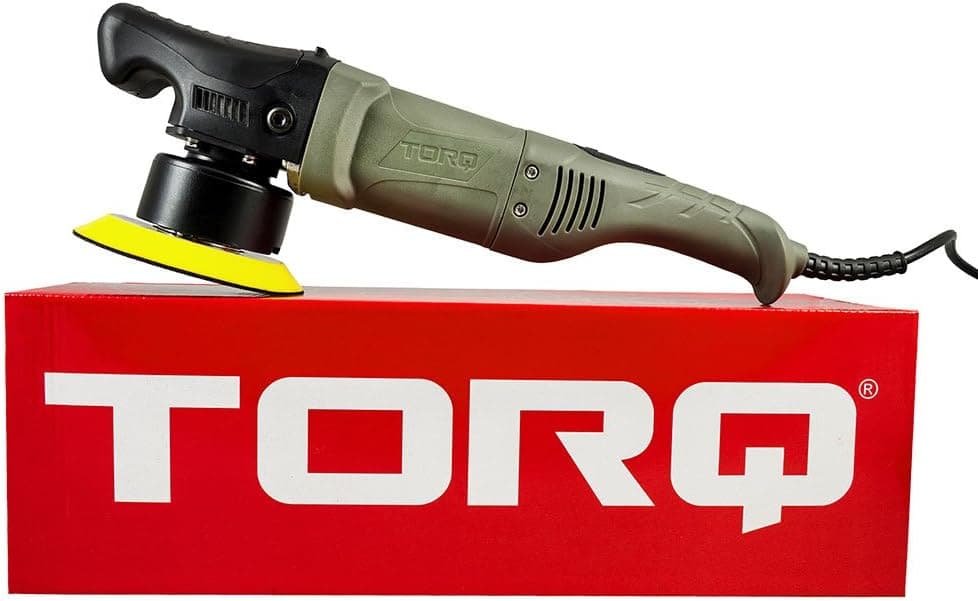
Pads and compound
Full guide →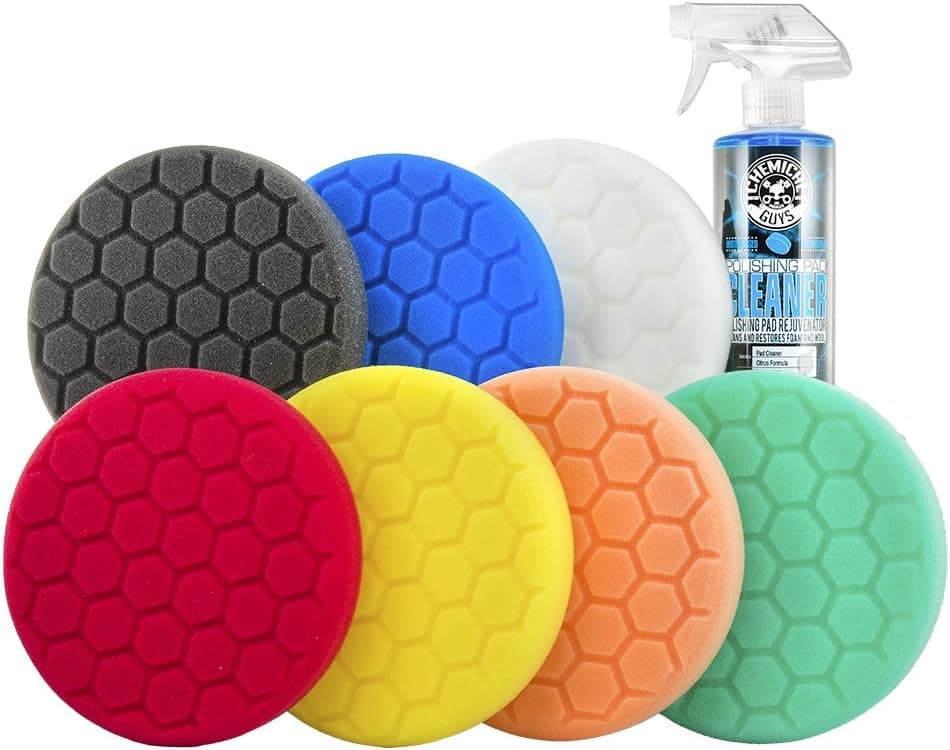
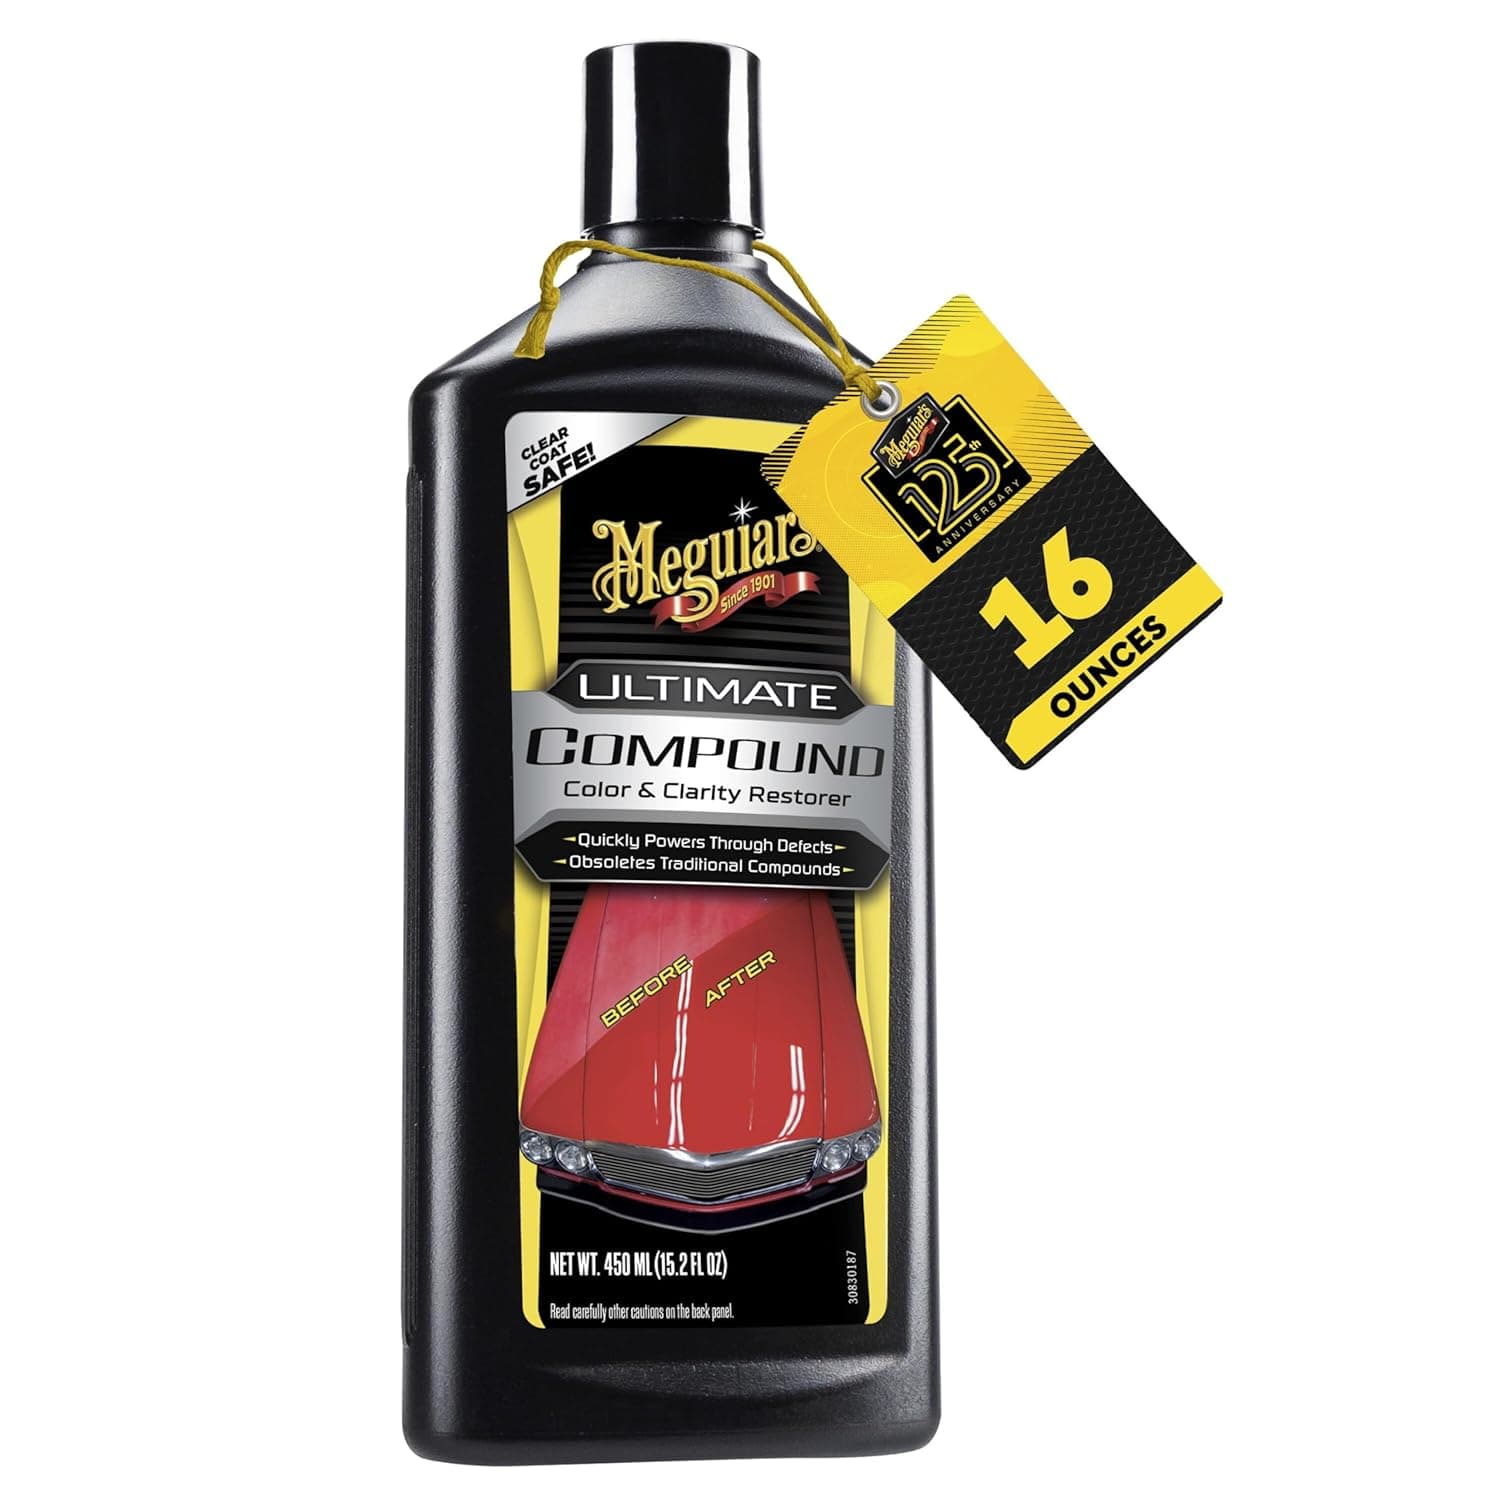
Lock it in with a coating
Full guide →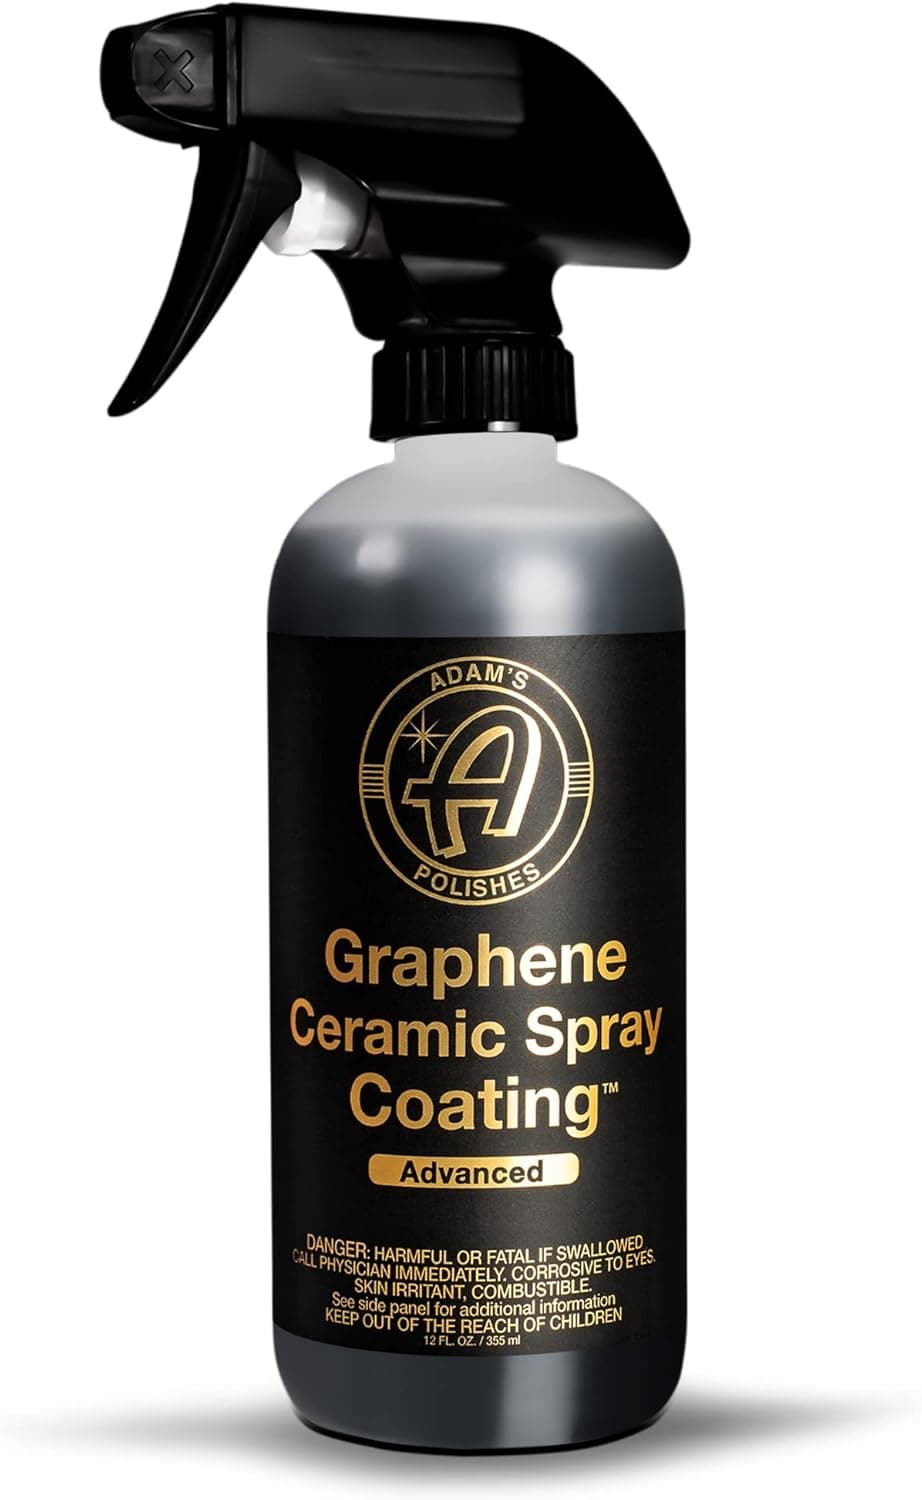
Maintain the finish
Full guide →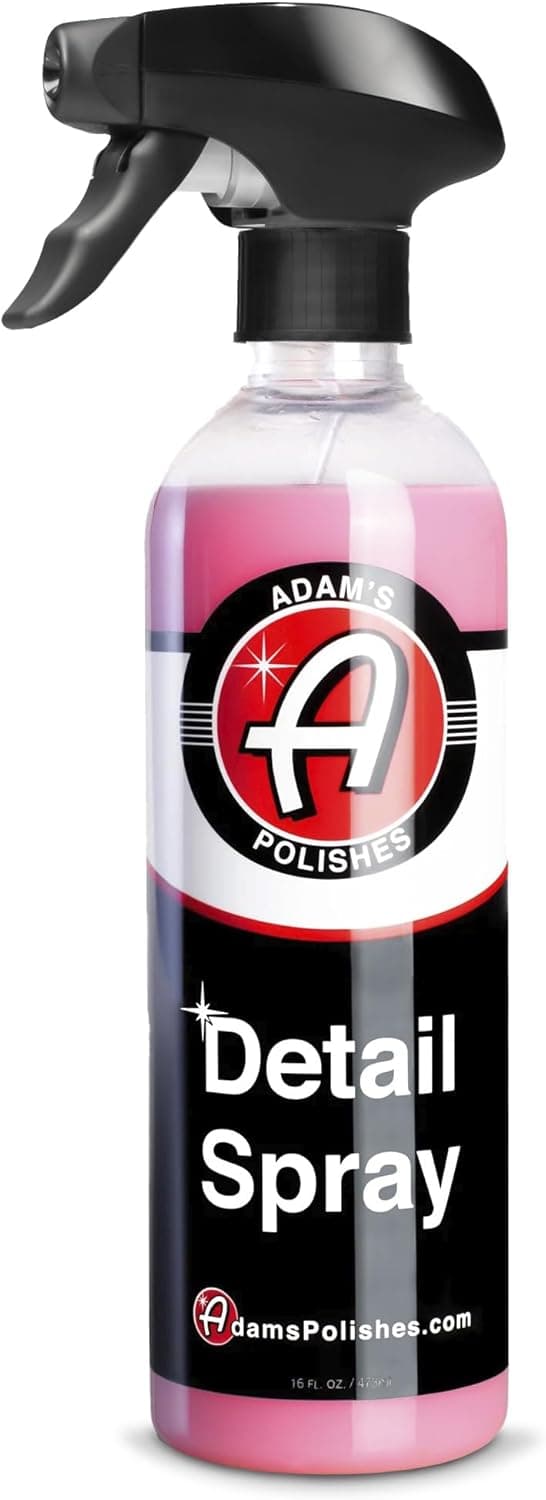
Car Detail Picks curates picks for US shoppers. We may earn a commission from links on this page.