DIY Paint Correction Tool Guide
As an Amazon Associate I earn from qualifying purchases.
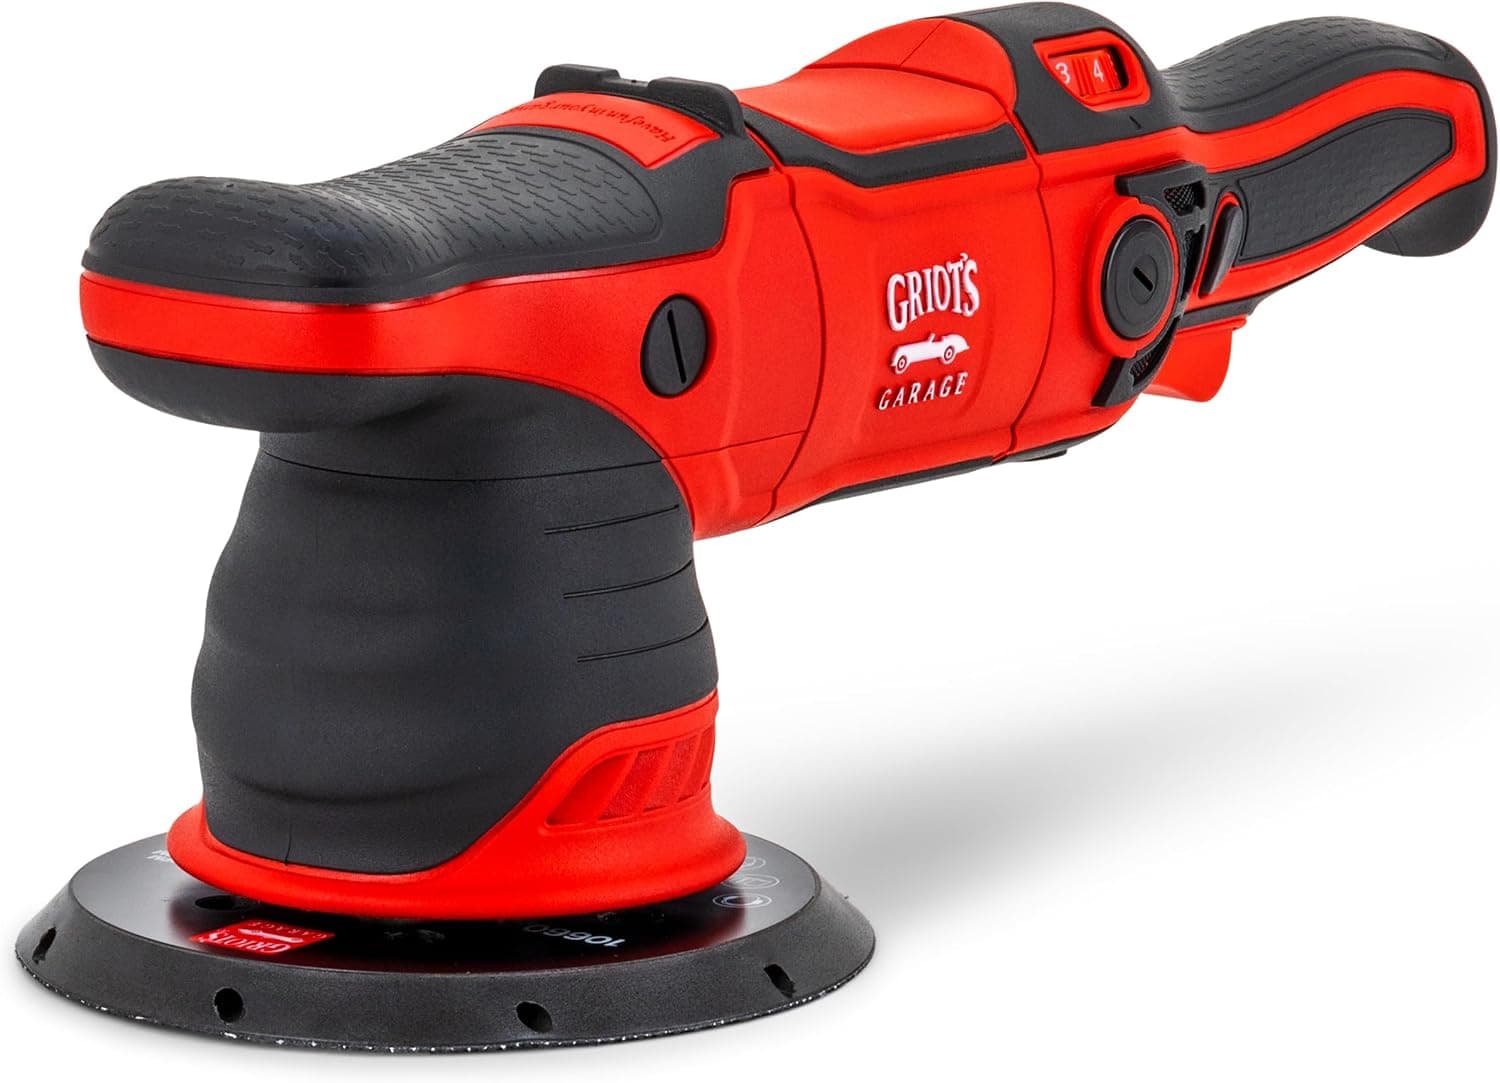
Paint correction can transform a dull, swirled finish into a mirror-like shine, but it starts with having the right tools. This guide breaks down the core gear a beginner needs to correct paint safely at home, explaining what each tool does and how the pieces work together. With the right setup, you can tackle swirls and light scratches with confidence instead of guesswork.
The Polisher Is the Heart of Your Setup
A machine polisher does the work your hand cannot, spreading compound evenly and generating the motion needed to level paint. For beginners, a dual action polisher is the safest starting point because its oscillating motion greatly reduces the risk of burning through the clear coat.
Dual action machines are forgiving enough to learn on while still capable of serious correction once you build technique. They handle everything from removing swirls to refining gloss, which makes a good dual action polisher the single most important purchase for a home paint correction kit.
Pads and Compounds Do the Actual Cutting
Your polisher only carries the pad, and it is the pad and compound combination that removes defects. Firmer pads paired with cutting products remove more paint, while softer pads and lighter polishes refine the finish. Learning to pair them is the core skill of paint correction.
Buying a small range of pads and compounds lets you adjust aggressiveness to each panel instead of forcing one product to do everything. Having options on hand means you can start gentle and step up only when a defect demands it, which protects your clear coat.
Inspection Lights Reveal What You Are Fixing
Swirls and haze are nearly invisible under normal lighting, which is why a dedicated inspection light is essential. Angled, focused light exposes defects that daylight hides, letting you see exactly what needs correcting and whether your passes are actually working.
Checking your progress under a proper light prevents two common mistakes: stopping before the defect is gone, or overworking an area that is already clear. A good inspection light turns paint correction from a guessing game into a controlled, repeatable process.
Clay Prep Sets the Stage for Correction
Machine polishing over bonded contaminants drags grit across the paint and creates fresh marring. Claying the surface first removes embedded fallout and leaves a smooth base, so your pads glide cleanly and your compound works as intended.
A clay bar or complete clay kit is inexpensive compared to the damage skipping this step can cause. Taking a few extra minutes to decontaminate every panel before correcting pays off in a cleaner result and longer-lasting pads.
Finishing Polishes Bring Out the Gloss
Aggressive compounds leave micro-marring and haze that dull the finish, even after they remove defects. A finishing polish refines the surface, clearing that haze and revealing the deep, wet-looking gloss that makes corrected paint stand out.
This final refining step is what separates amateur results from professional-looking ones. Once your finishing polish has brought back full clarity, the paint is ready for protection, and your correction work will truly show.