How to Remove Scratches From Car Paint
As an Amazon Associate I earn from qualifying purchases.
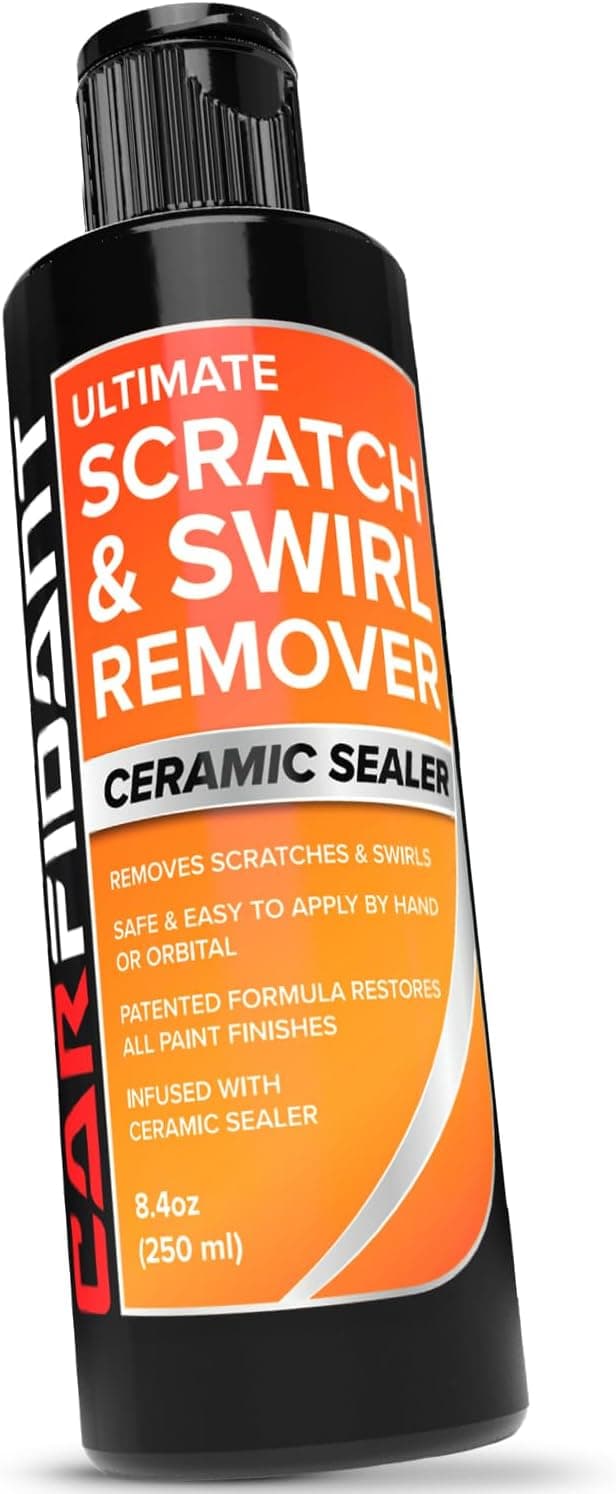
Scratches happen to every car, whether from a stray shopping cart, a careless key, or years of washing. The good news is that many marks can be corrected at home with patience and the right products. This guide walks you through judging scratch depth, choosing compounds and pads, and finishing safely so your paint looks smooth and glossy again without an expensive body shop visit.
Figuring Out How Deep the Scratch Is
Before touching any product, run your fingernail lightly across the scratch. If your nail does not catch, the mark likely sits in the clear coat and can usually be polished out. If your nail catches, the scratch has reached the base coat or primer and will need more involved repair or professional attention.
Good lighting makes all the difference when judging depth. A focused inspection light reveals whether a scratch is a shallow swirl or something that has cut deeper into the paint. Checking under bright, angled light also helps you avoid overcorrecting an area that only needs a light polish.
Cleaning and Decontaminating the Area First
Polishing over dirt or embedded grit will only create new scratches. Start by washing the panel thoroughly and drying it, then use a clay bar or clay kit to pull out bonded contaminants that a normal wash leaves behind. The surface should feel glassy smooth before you move on.
Decontamination matters most on older paint or cars kept outdoors, where fallout and road grime accumulate. Taking the time to clay the area gives your compound a clean surface to work on and keeps your pads from dragging debris across the finish.
Choosing the Right Compound for the Job
For most clear-coat scratches, a cutting compound removes a thin layer of paint to level the surface around the mark. Heavier compounds cut faster but leave their own haze, so match the aggressiveness to how deep the scratch actually is. Starting too aggressive removes more clear coat than necessary.
It is smart to begin with the least aggressive product that still works, then step up only if needed. A good cutting compound paired with the correct pad does most of the heavy lifting, and you can always refine the finish afterward with a lighter polish.
Working the Compound With Pads and Passes
Apply a few small dots of compound to a clean pad and spread it over the scratch on a low speed before increasing pressure. Work in small sections with overlapping passes so the product stays worked in evenly rather than slinging off the panel. Wipe the area to check your progress between passes.
Pad choice affects the result as much as the compound. A firmer cutting pad removes more, while a softer pad refines. Keeping a few pads on hand and swapping to a fresh one as they load up with residue keeps your correction consistent across the panel.
Refining and Sealing the Repaired Paint
After cutting out the scratch, the paint often looks slightly hazy from the compounding step. A finishing polish removes that haze and brings back deep gloss, leaving the corrected area matching the surrounding paint. This final step is what separates a rough fix from a clean, invisible repair.
Once the finish looks right, protect your work with a wax or sealant so the fresh paint is not left exposed. Sealing locks in the gloss and helps the repaired area resist water spots and light marring, keeping your effort looking good for longer.