How to Remove Swirl Marks Safely
As an Amazon Associate I earn from qualifying purchases.
Swirl marks are those fine, spiderweb scratches that show up under sunlight and make paint look dull. They usually come from improper washing and drying, not from a single dramatic event. The good news is that most swirls live in the clear coat and can be safely polished away. This guide explains what causes them and walks you through removing them with the right tools, pads, and technique for a clean, swirl free finish.
Understanding What Causes Swirls
Most swirl marks are self inflicted through washing habits. Dragging a dirty mitt across the paint, using a single bucket, or wiping with a rough towel all grind fine grit into the clear coat.
Understanding the cause matters because removing swirls without fixing your wash routine just resets the clock. Adopt a gentle two bucket wash and soft drying towels so your hard correction work actually lasts.
Setting Up Your Machine and Pads
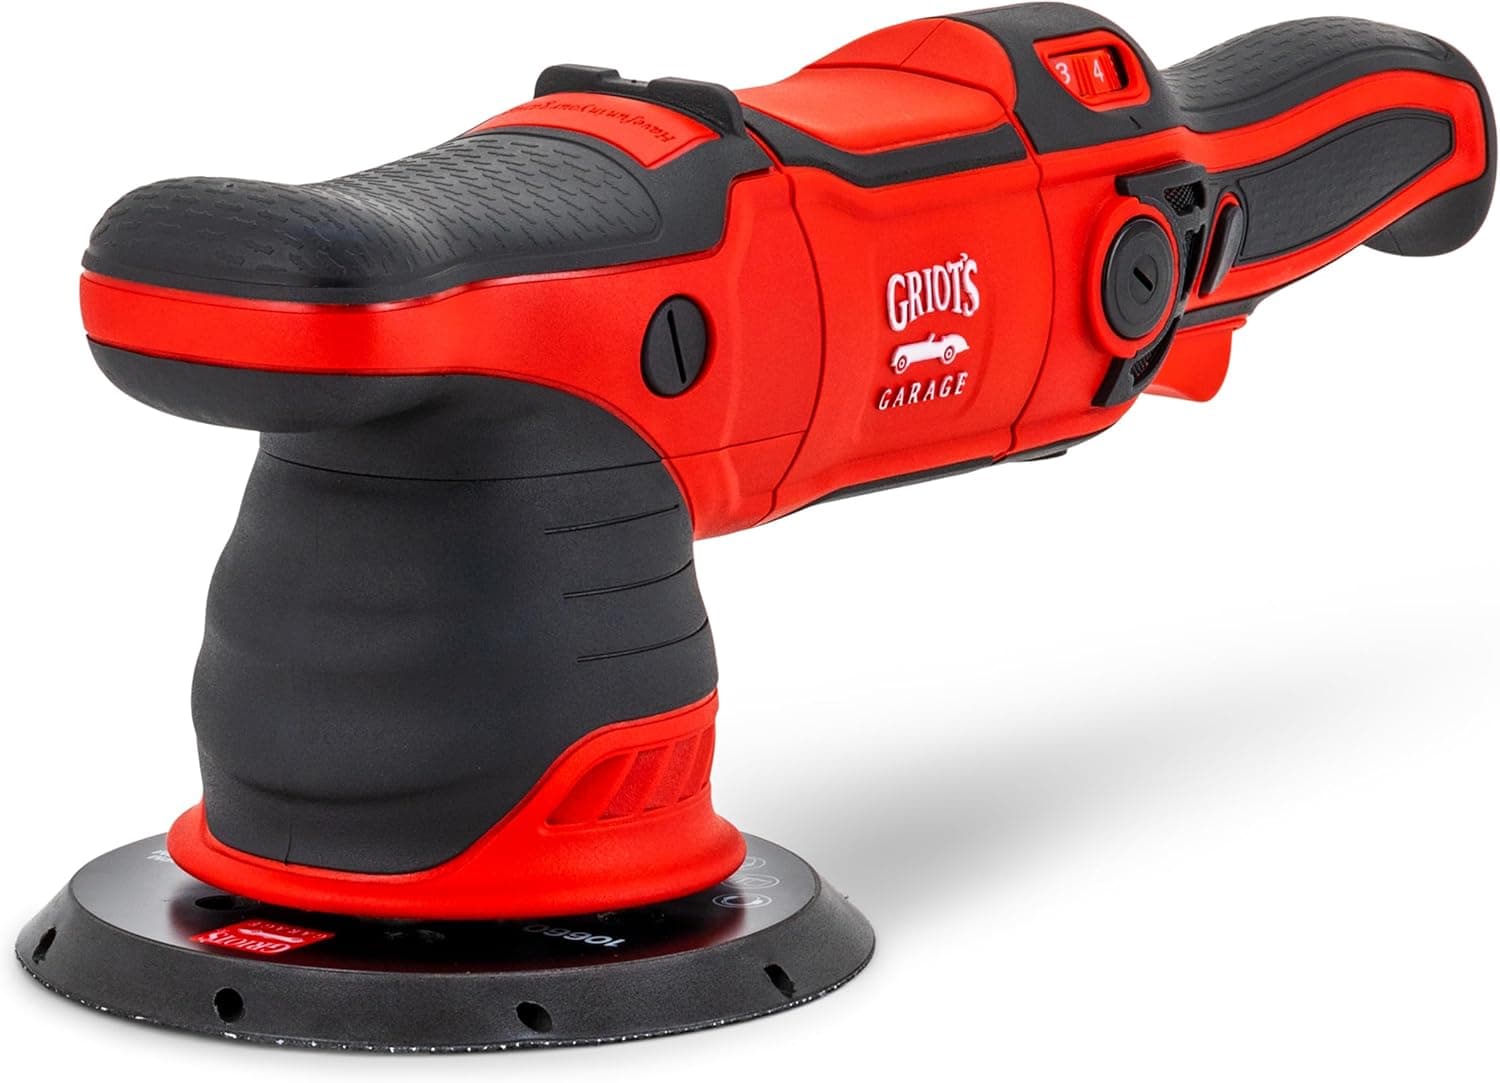
A dual action polisher paired with the right pad is the core of swirl removal. For typical swirls, a polishing pad with a light to medium product usually clears the defect without removing excess clear coat.
Prime the pad lightly and spread the product at low speed before increasing to a working speed. This prevents sling and ensures the abrasives make even contact across the whole section you are correcting.
When Swirls Need More Cut
Deeper swirls sometimes resist a light polish and need a more aggressive cutting compound. Cutting removes more material quickly, so reserve it for defects that a mild approach clearly cannot handle.
Always run a small test spot first to confirm the compound removes the swirls. This tells you the least aggressive combination that works, which protects your clear coat from unnecessary thinning.
Refining to a High Gloss
Cutting a panel often leaves faint haze or micro marring behind. A finishing polish on a soft pad removes that haze and brings the paint to a deep, wet looking gloss.
This refinement step is what separates amateur results from professional ones. Skip it and your paint may look corrected indoors but reveal light hazing the moment it sees direct sunlight.
Confirming the Swirls Are Gone
Swirls hide easily under weak lighting, so proper inspection is essential. A focused detailing light shows the true condition of the paint and reveals any swirls or holograms you may have missed.
Inspect each section from several angles after wiping away residue. Only move on once the light shows clean, defect free paint, then protect the finish to keep those swirls from returning.