How to Repair Cracked Leather Car Seats
As an Amazon Associate I earn from qualifying purchases.
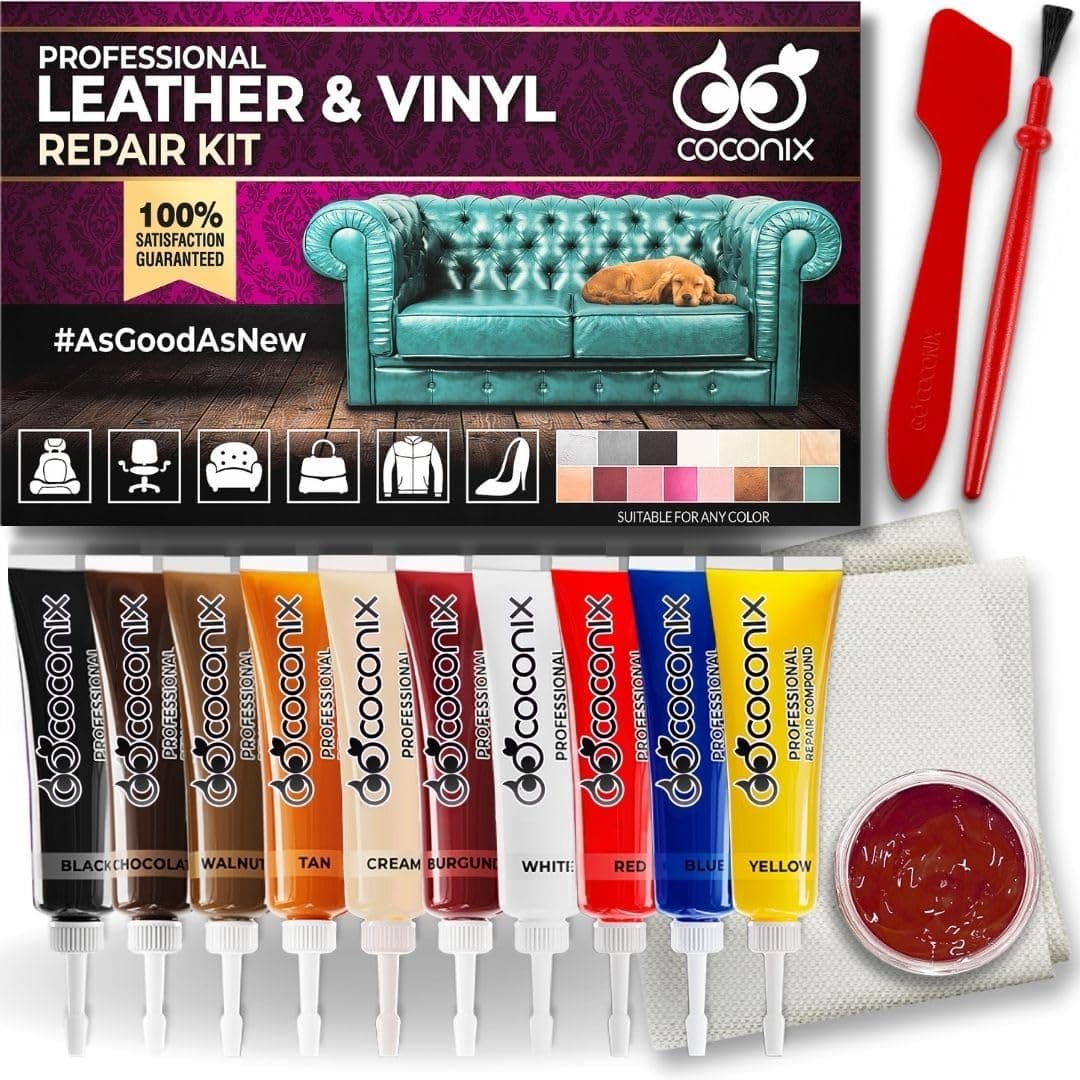
Cracked leather seats make an otherwise clean interior look tired and neglected. The good news is that most surface cracks can be repaired at home with a little patience and the right supplies. This guide walks you through cleaning, prepping, filling, coloring, and protecting the leather so your seats look smooth again and the repair holds up through daily driving and seasonal temperature swings.
Understanding Why Leather Cracks
Automotive leather is coated with a thin protective finish that flexes every time you sit down. Over months and years, sunlight, heat, body oils, and simple friction dry out the material and wear through that finish. Once the surface loses moisture, it becomes brittle and starts to split into the fine lines and deeper cracks you notice on the seat bolsters first.
Knowing the cause helps you set realistic expectations. Light surface cracking that has not fully separated is very repairable, while cracks that have torn all the way through the hide need a backing patch before any filler will hold. Inspect each seat in good light so you can plan the right approach for each damaged area before you buy anything.
Cleaning and Prepping the Surface
A repair only bonds to clean leather, so start by removing every trace of dirt, oil, and old conditioner. Wipe the seats with a dedicated leather cleaner and a soft cloth, working in small sections and letting each area dry fully. Skipping this step is the most common reason home repairs peel or discolor within a few weeks.
Once the leather is clean and dry, lightly abrade the edges of each crack with fine sanding pad if your kit includes one. This knocks down loose flaking and gives the filler something to grip. Vacuum away the dust and give the area a final wipe so no residue remains between the crack walls.
Filling and Leveling the Cracks
Apply the flexible filler from your repair kit into each crack using a small spatula or palette knife. Press it down so it fills the gap completely, then scrape the excess flush with the surrounding surface. Thin layers work far better than one thick pass, since flexible filler needs to cure evenly to stay soft and avoid re-cracking.
Let each layer dry according to the instructions, then build up the level until the repaired area sits flush with the undamaged leather. A gentle pass with a fine abrasive between coats keeps the surface smooth. Take your time here, because a level, well-cured base is what makes the final color coat look seamless.
Matching Color and Grain Texture
Once the filler has cured, blend the repair into the seat with a matching leather colorant. Build the color in light coats, feathering outward past the repair so there is no hard edge. Many kits include a grain pad you press into the tacky colorant to recreate the natural leather pattern, which helps the fix disappear under normal lighting.
Work colorant into the surrounding stitching and seams carefully with a small detailing brush so you do not flood them with product. Reaching into tight seams and panel gaps is easier with a soft brush than with a cloth, and it keeps the color coverage even where the seat curves and folds.
Sealing and Conditioning the Repair
The final step is protecting your work. Apply the sealer supplied with your kit to lock in the colorant, then follow up with a quality leather conditioner once everything has fully cured. Conditioning restores flexibility to the surrounding hide so the repaired section and the original leather flex together instead of stressing the new fill.
Keep the repair looking fresh by conditioning the whole seat every few months and wiping down trim and hard surfaces around it at the same time. Regular upkeep on the dashboard and door panels near the seats prevents the dry, dull look that leads to cracking in the first place.