How to Wash Your Car Without Swirls
As an Amazon Associate I earn from qualifying purchases.
Almost every swirl mark on a car's paint comes from washing it, not driving it. Swirls are thousands of tiny scratches from dragging grit across the clear coat, and they are entirely preventable with a method built around one idea: never let dirt grind against the paint. Here is the safe wash, step by step.
Step 1: wheels and tires first
Always clean the dirtiest part of the car first, before the paint, so their grime and brake dust do not contaminate your wash water and mitts. Spray a wheel cleaner, agitate with a dedicated wheel brush, and rinse.
Using separate mitts and brushes for wheels keeps the abrasive brake dust away from the mitt that touches your paint later.
Step 2: pre-rinse to knock off loose dirt
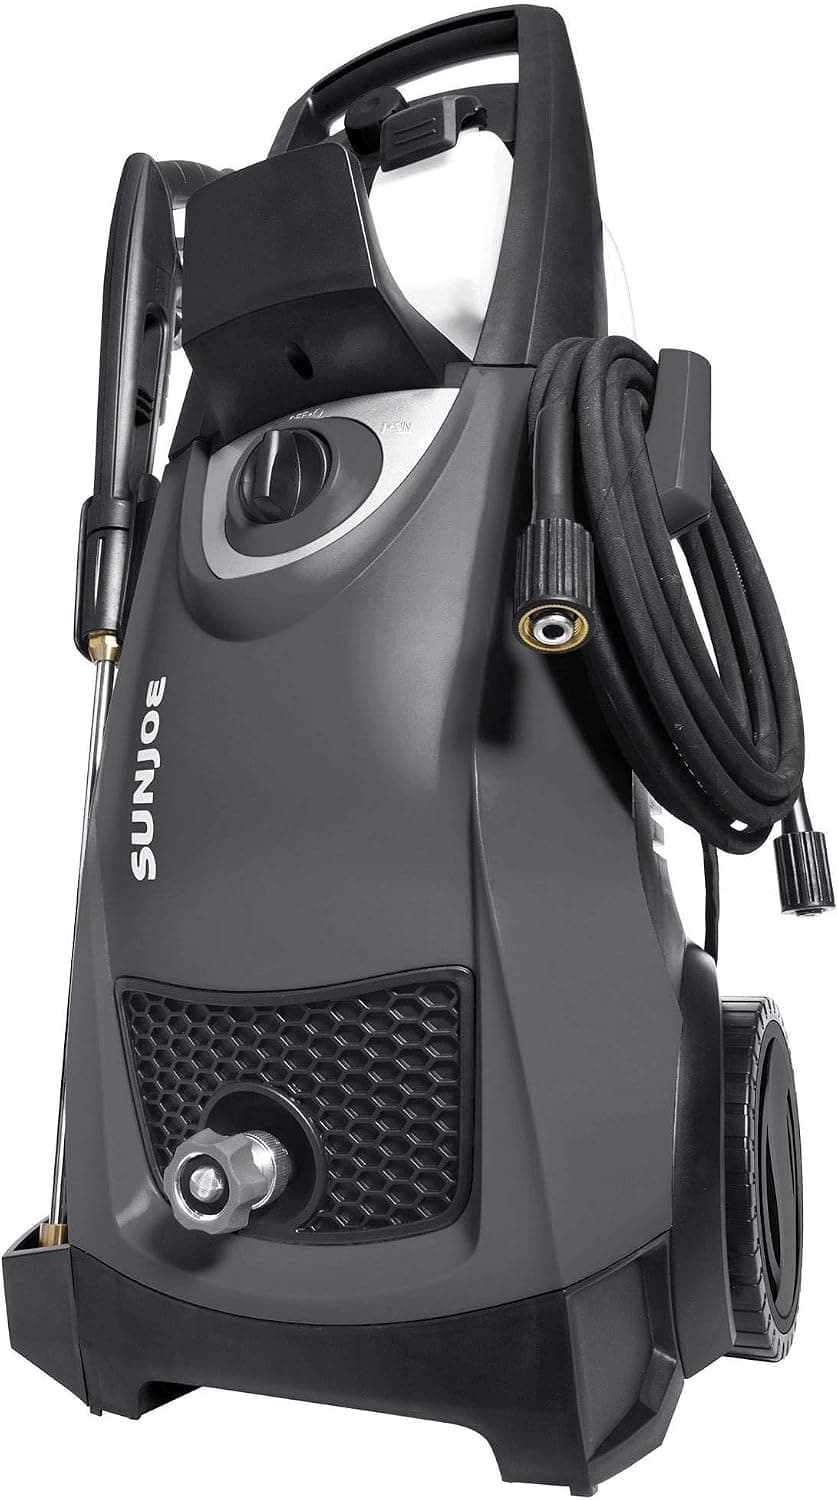
Before anything touches the paint, rinse the whole car to wash away loose dirt and dust. A pressure washer does this best, blasting grit out of panel gaps and wheel wells that a hose leaves behind.
The more dirt you remove before contact, the less there is to potentially scratch with. This rinse is doing real swirl-prevention work.
Step 3: foam and dwell
A foam cannon blankets the car in thick snow foam that clings and softens dirt while it dwells for a few minutes, lifting grit off the surface so much of it rinses away before you ever touch the paint. This touchless step is the single biggest swirl-reducer after a pressure rinse.
Rinse the foam and most of the loosened dirt goes with it, leaving far less to grind against the clear coat during the contact wash.
Step 4: the two-bucket contact wash
Now the contact wash, and the two-bucket method is the rule. One bucket has soapy water, one has clean rinse water, each with a grit guard at the bottom. Load the plush mitt with suds, wash one panel top-to-bottom with straight (not circular) motions, then rinse the mitt in the rinse bucket before reloading with soap.
The rinse bucket is where the grit goes, and the grit guard traps it at the bottom so it does not return to your mitt. Work top-down, since the lower panels are dirtiest, and use a separate mitt for the lowest sections.
Step 5: dry without dragging
Drying is the last chance to install swirls, so never scrub. Use a large, plush 900GSM+ microfiber drying towel to blot and gently pull water, or a forced-air blower for zero contact. A drying aid or quick detailer misted on adds lubrication so the towel glides.
Dry in the shade to avoid water spots, and you are done: a clean car with no new swirls, which over years is the difference between paint that stays glossy and paint that hazes.