Interior Detailing Step by Step
Published How we research
Detail an interior top to bottom and dry before wet. Remove everything including the floor mats, vacuum thoroughly from the top surfaces down using a crevice tool and brush, then clean each material with its matched product: all-purpose cleaner on hard plastics, fabric cleaner on seats and carpet, dedicated leather cleaner plus conditioner on leather. Detail the seams and touch points with cotton swabs, do the glass last with two microfibers, and finish with a matte protectant and a light air freshener. A spotless exterior loses its impact the moment you open the door to a cluttered, dusty cabin. Interior detailing is where you spend all your time as a driver, so it arguably matters more than paint. Done in the right order, it is straightforward, and working systematically from top to bottom and dry to wet keeps you from redoing work you have already finished.
Start by removing everything
Start by removing everything. Take out floor mats, trash, coins, and personal items, and empty every cubby and door pocket. An empty cabin lets you reach surfaces you would otherwise skip. Set the floor mats aside to clean separately, because they collect the heaviest dirt and often need their own scrub, whether they are carpet or rubber.
Dry clean before wet: vacuum thoroughly
Next, dry clean before wet. Vacuum thoroughly, working from the top surfaces down toward the floor so debris falls where you will collect it last. Use a crevice tool for seat rails and tight seams, a brush attachment for vents and trim, and push the seats forward and back to reach the carpet underneath. A soft detailing brush agitates dust out of vents, seams, and textured plastics so the vacuum can capture it.
Clean surfaces by material
Now tackle surfaces by material. Hard plastics, vinyl, and trim clean up well with a diluted all-purpose cleaner and a microfiber, agitating textured areas with a soft brush. For fabric seats and carpet, use a dedicated fabric cleaner and a brush, blotting stains rather than grinding them in. Leather needs its own gentle leather cleaner followed by a conditioner to keep it supple and prevent cracking. Always match the product to the material, and test in a hidden spot if you are unsure.
The details that make a cabin feel clean
Work the details that make an interior feel truly clean. Cotton swabs and soft brushes reach into button seams, air vents, seat stitching, and the tight gaps around the shifter and controls. These small areas hold surprising amounts of grime, and cleaning them is the difference between a car that looks tidy and one that looks professionally detailed. Wipe down the steering wheel, gear selector, and touch points, which harbor the most oils from your hands.
Do the glass last
Do the glass last, after everything else, so any overspray or dust settling during cleaning does not land on freshly cleaned windows. Use a proper automotive glass cleaner, ideally ammonia-free to protect any tint, and two microfiber towels, one to clean and one to buff dry. Wipe in a final horizontal pass on the outside and vertical on the inside, so if a streak appears you instantly know which side it is on.
Finishing touches that set the mood
Finish with the touches that set the mood. Reinstall the cleaned mats, apply a matte protectant to dashboards and trim if you like a fresh look, and avoid glossy dressings on the steering wheel or pedals where they become slippery. A light, non-overpowering air freshener seals the experience. Work top to bottom, dry before wet, glass last, and your cabin will feel genuinely renewed rather than just wiped over.
Frequently asked questions
What order should I detail a car interior in? Top to bottom and dry before wet: declutter, vacuum, clean surfaces by material, detail the seams, do the glass last, then reinstall mats and apply protectant.
What cleaner should I use on car leather? A dedicated gentle leather cleaner followed by a leather conditioner to keep it supple and prevent cracking. Do not use all-purpose cleaner on leather.
Why should glass be cleaned last? So dust and overspray settling during the rest of the clean do not land on freshly cleaned windows. Use an ammonia-free automotive glass cleaner and two microfibers.
How do I clean air vents and tight seams? Cotton swabs and a soft detailing brush loosen grime from vents, button seams, and the gaps around the shifter, then a vacuum with a crevice tool captures it.
Products from this article
The highest-scoring picks from the buying guides mentioned above. Scores are our editorial assessment, not customer ratings.
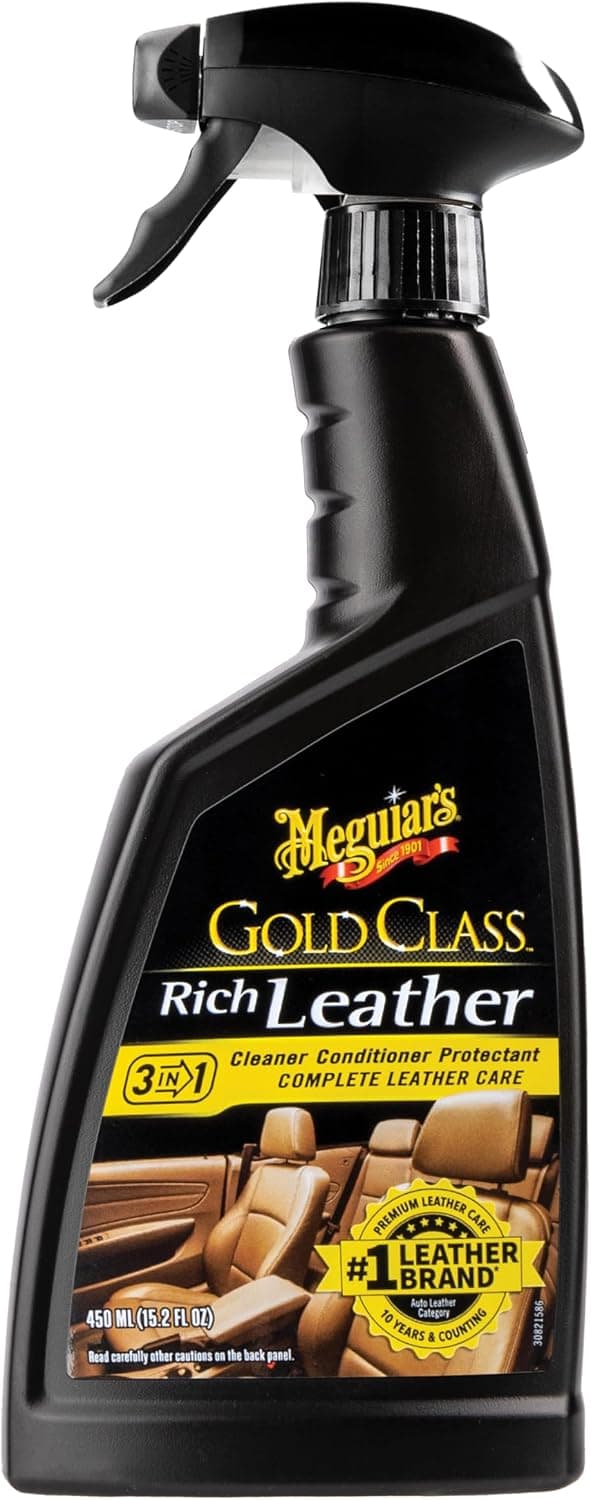
+ 3-in-1 spray cleans, conditions and protects in one pass
From our guide: Best Interior Detailing Products
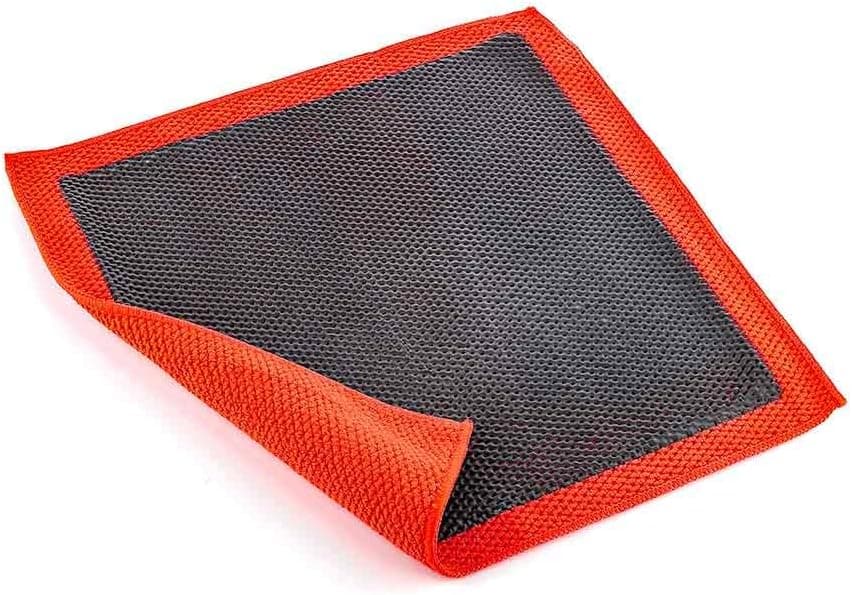
+ Fine grade clay is less likely to haze soft or dark paint
From our guide: Best Clay Mitts
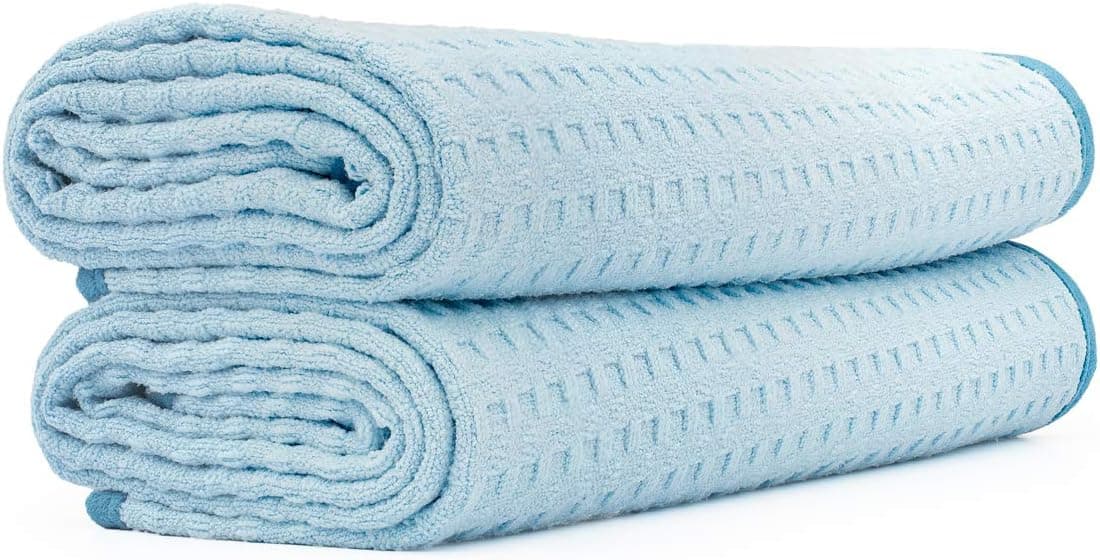
+ 70/30 blend balances absorbency with a soft touch on paint
From our guide: Best Microfiber Detailing Towels
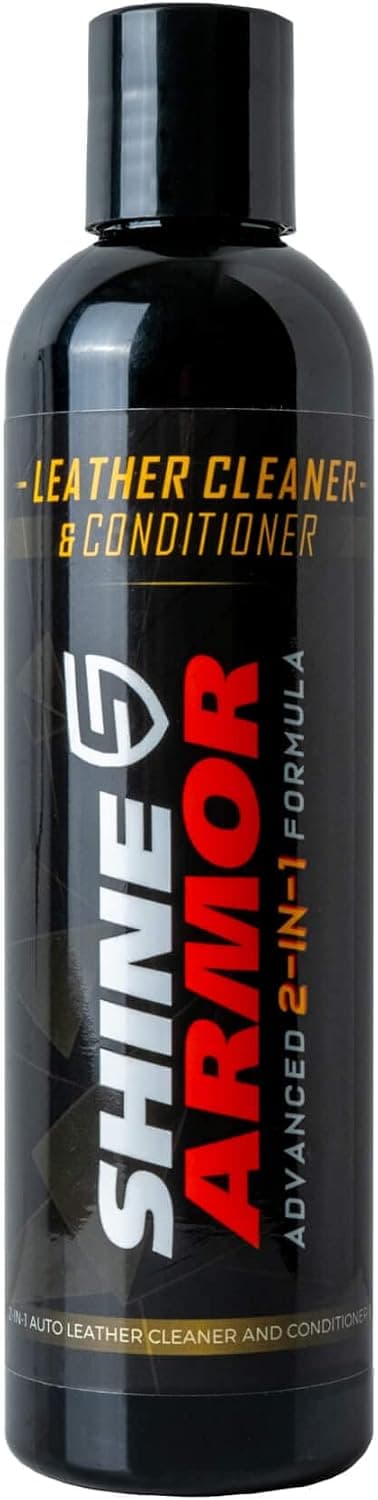
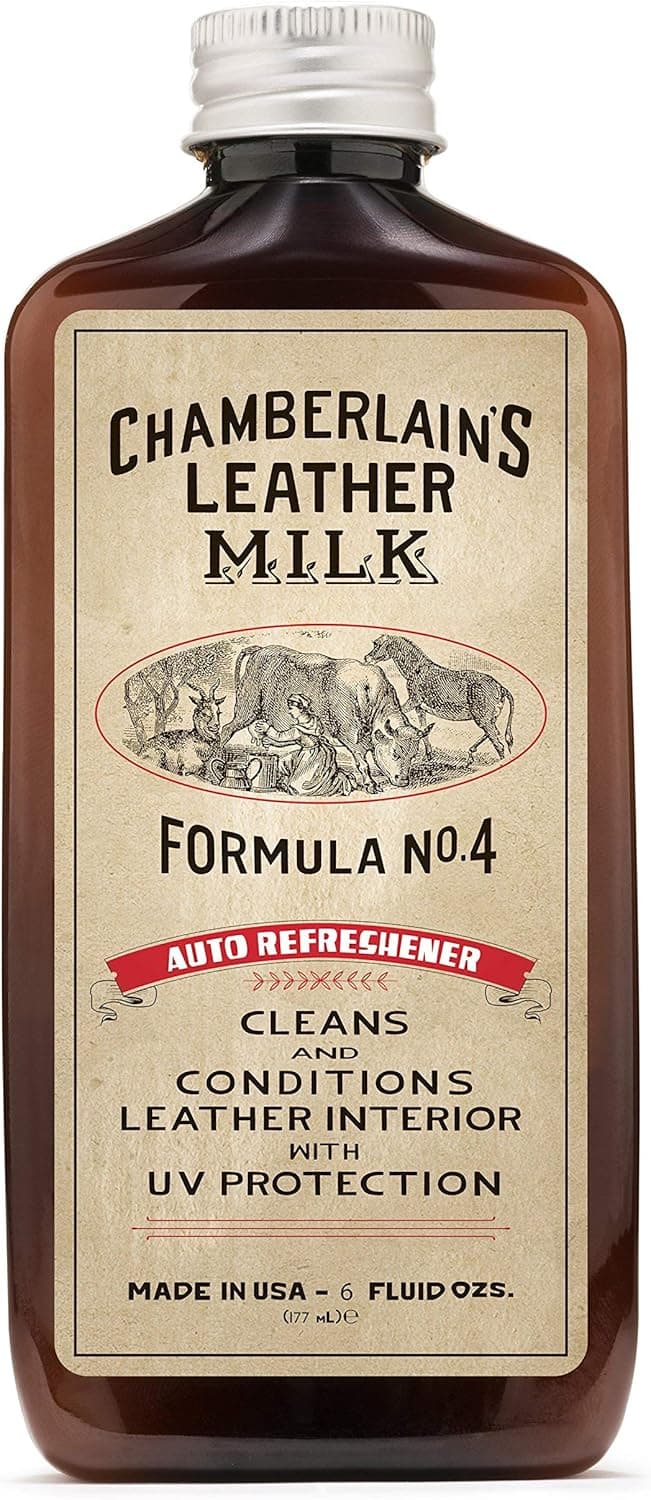
+ UV protection helps slow fading on leather near sunny windows
From our guide: Best Interior Detailing Products
Popular right now
- Best Finishing Polishes for Maximum Gloss and ClarityBuying guide
- Best Spray Ceramic CoatingsBuying guide
- Cleaning Car Carpets and Fabric UpholsteryArticle
- Best Cutting Compounds for Removing Deep ScratchesBuying guide
- Best Car Scratch RemoversBuying guide
- Best Cordless Car PolishersBuying guide
Based on the last 28 days of search and visitor data.