Paint Chip Repair Basics
Published How we research
Assess the chip's depth first: a shallow cosmetic chip only removed the clear coat, while one showing bare shiny metal is urgent since exposed steel rusts. Get touch-up paint matched to your car's exact paint code, often needing primer, base coat, and clear coat components. Clean and degrease the area thoroughly first, treating any existing rust before painting over it. Apply in thin, patient layers rather than one thick blob, building up color coat by coat until level with the surrounding paint. Patience during drying prevents sagging, uneven blobs, and a final clear coat seals the repair and restores gloss. Stone chips are an inevitable part of driving, especially on the front bumper, hood, and lower doors where the tires fling debris. Each chip is small, but it exposes bare metal or primer to moisture, and that is where rust begins. Addressing chips promptly is less about perfect looks and more about stopping corrosion before it spreads under the surrounding paint. A tidy home repair is very achievable with patience.
First assess the chip's depth
First assess the chip. Look closely to judge how deep it goes. A shallow chip that has only removed the clear coat or top layer is mostly cosmetic. A deeper chip that reveals gray primer still has some protection, while one showing bare, shiny metal is the urgent kind, because exposed steel will rust. Knowing the depth tells you how much building up the repair needs.
Get the right touch-up paint
Get the right touch-up paint. Find your car's paint code, usually on a sticker in the door jamb or under the hood, and order touch-up paint matched to that code rather than a generic close color. Many chips need three components, a primer for bare metal, the color-matched base coat, and a clear coat to seal and match the gloss. Small bottles with fine brushes or paint pens are made exactly for this.
Preparation determines the result
Preparation determines the result. Clean the chip and surrounding area thoroughly, removing wax, dirt, and any loose or flaking paint around the edges. Degrease the spot so the paint bonds properly, and if there is any rust already forming, treat or remove it first, because painting over rust just traps it. Let everything dry completely. A clean, stable, rust-free chip is the foundation of a repair that lasts.
Apply the paint in thin, patient layers
Apply the paint in thin, patient layers rather than one thick blob. If bare metal is showing, start with a tiny amount of primer and let it dry. Then build up the color coat in successive thin applications, letting each dry before the next, until the paint is nearly level with the surrounding surface. Use a fine brush, a toothpick, or the tip of the applicator for precision, dabbing rather than brushing to control the amount.
Patience during drying separates clean from messy repairs
Patience during drying is what separates a clean repair from a messy one. Rushing thick coats leads to sagging, uneven blobs that stand proud of the paint. Building slowly lets you creep up to the right level. Once the color is filled and fully cured, a layer of clear coat over the top seals the repair and restores gloss so the spot blends in better and gains real protection against the elements.
A refined finish is optional but achievable
For a refined finish, some detailers level a cured, slightly raised repair by carefully leveling the excess and polishing it smooth, though this takes a delicate touch and is optional. Even without that final leveling, a well-filled chip is far better than an open one. The goal is to protect the metal and tidy the appearance, and doing that promptly across your chips keeps small blemishes from becoming rust repairs down the road.
Frequently asked questions
How do you tell how serious a paint chip is? A shallow chip that only removed the clear coat is mostly cosmetic, a deeper chip showing gray primer still has some protection, and one showing bare shiny metal is the urgent kind since exposed steel will rust.
How do you find the right touch-up paint color for a car? Find your car's paint code, usually on a sticker in the door jamb or under the hood, and order touch-up paint matched to that exact code rather than a generic close color.
Should you paint over rust in a chip? No, treat or remove any rust first before painting, since painting over rust just traps it and lets corrosion continue spreading underneath the new paint.
Why should touch-up paint be applied in thin layers? Rushing thick coats leads to sagging, uneven blobs that stand proud of the paint, while building up color slowly in thin layers lets you creep up to the right level without a messy result.
Products from this article
The highest-scoring picks from the buying guides mentioned above. Scores are our editorial assessment, not customer ratings.
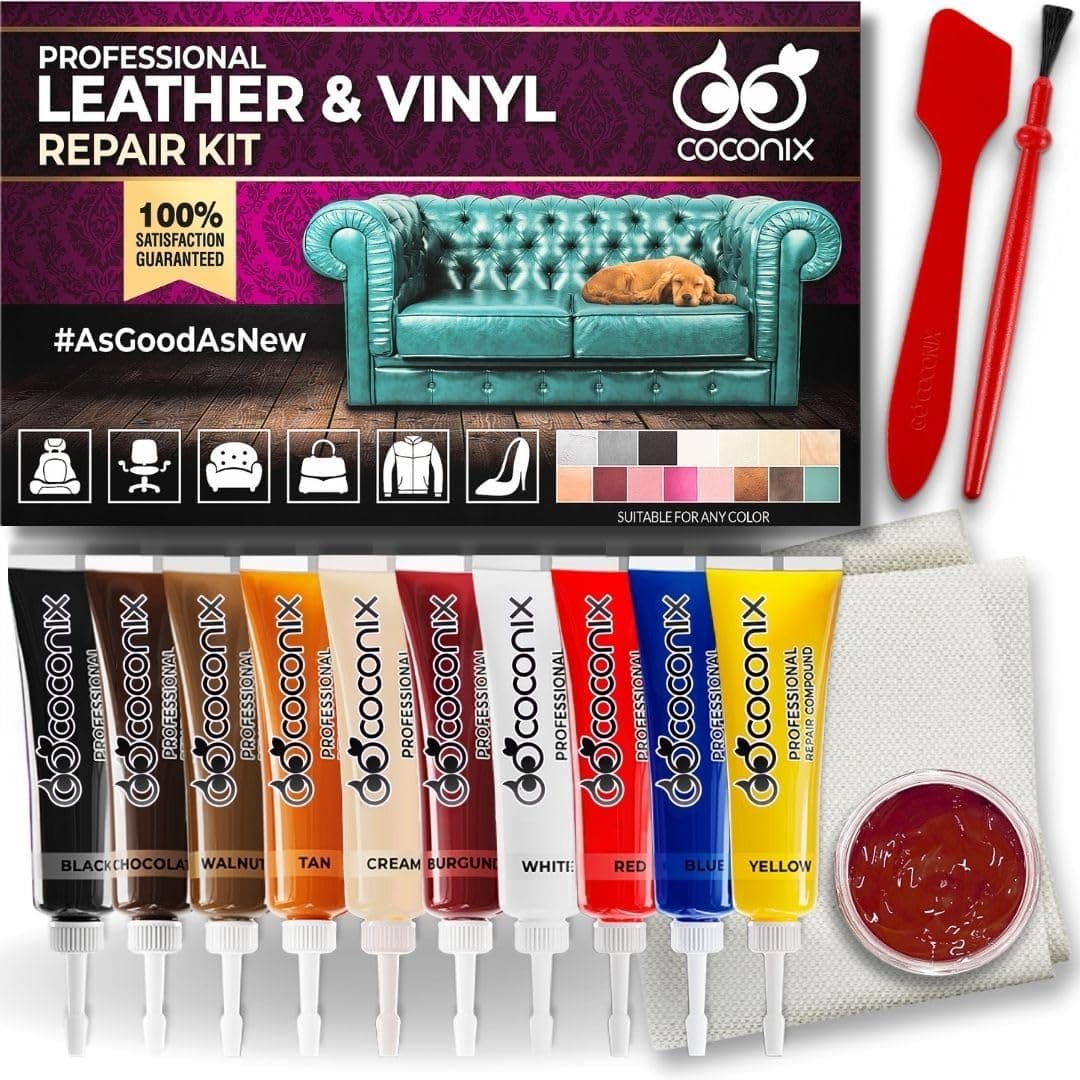
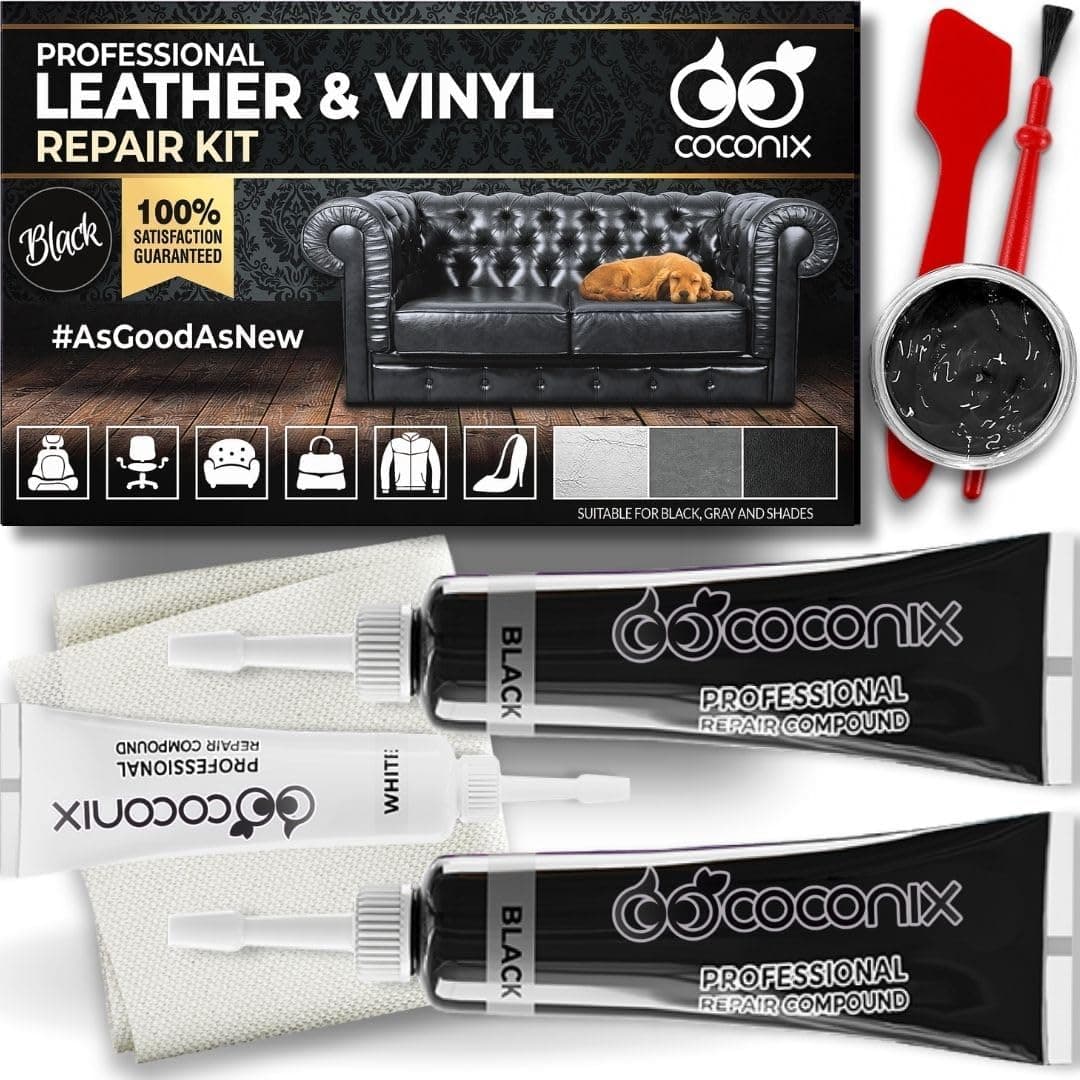
+ Black-focused kit simplifies color matching for dark interiors
From our guide: Best Leather Repair Kits
+ Pro kit adds extra filler and tools for cracks and holes
From our guide: Best Leather Repair Kits
+ Color mixing lets you match many common interior shades
From our guide: Best Leather Repair Kits
+ Two kits together cover color mixing and dedicated black repairs
From our guide: Best Leather Repair Kits
Popular right now
- Best Finishing Polishes for Maximum Gloss and ClarityBuying guide
- Best Spray Ceramic CoatingsBuying guide
- Cleaning Car Carpets and Fabric UpholsteryArticle
- Best Cutting Compounds for Removing Deep ScratchesBuying guide
- Best Car Scratch RemoversBuying guide
- Interior Detailing Step by StepArticle
Based on the last 28 days of search and visitor data.