Paint Correction for Beginners: A Simple Starting Point
As an Amazon Associate I earn from qualifying purchases.
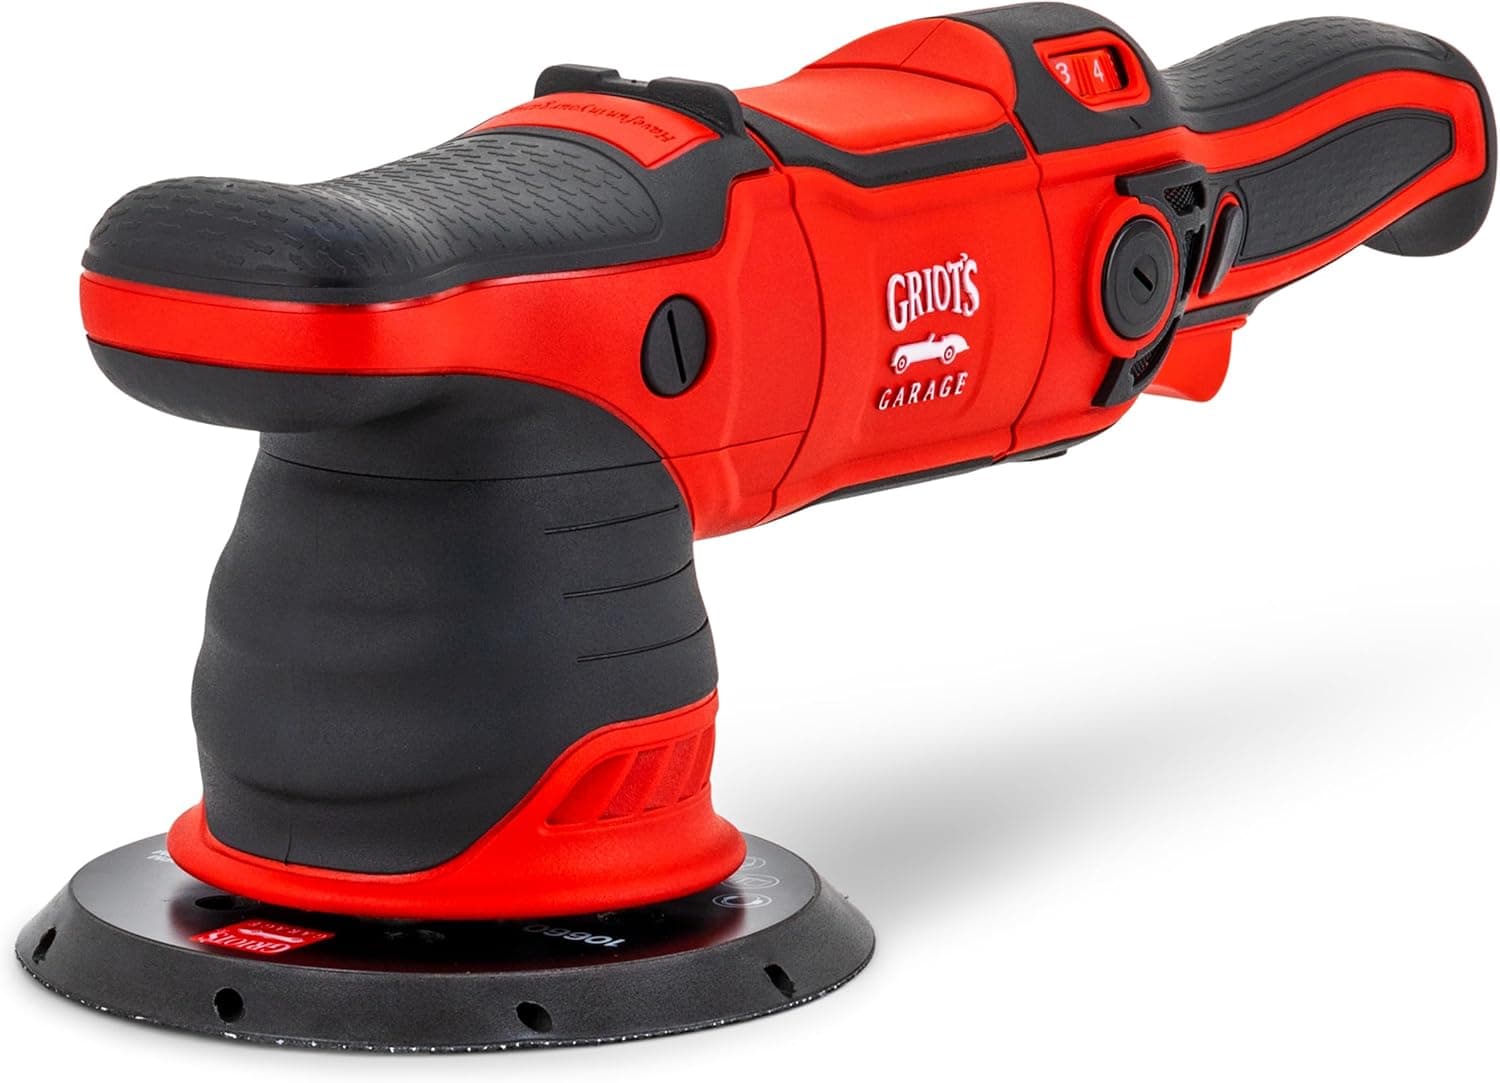
Paint correction sounds intimidating, but the basics are simple once you break them down. It is the process of removing light scratches, swirls, and oxidation so your clear coat looks clear again. This guide keeps things beginner friendly, walking you through the tools, the pads, the products, and the mindset you need. Take it slow, work in small sections, and you will see steady, satisfying improvement on your own car.
What Paint Correction Actually Does
Paint correction removes a thin layer of clear coat to level out surface defects. When light hits corrected paint, it reflects evenly instead of scattering across swirls and scratches. That is why a corrected panel looks deeper and glossier even before any wax or coating goes on top.
It is important to set expectations early. Not every defect can be safely removed, and chasing perfection can thin your clear coat. Beginners should aim for meaningful improvement rather than flawless results, and always keep some clear coat in reserve for the future.
Choosing Your First Machine
A dual action polisher is the safest way for a beginner to start. Its motion reduces the risk of burning through paint that you get with aggressive rotary machines. This forgiveness lets you learn technique without panicking over every pass.
Look for a machine that feels balanced in your hand and does not vibrate excessively. Comfort matters more than raw power when you are new, because fatigue leads to sloppy passes and uneven results across a panel.
Pads and Compounds Explained
Pads and compounds work as a team. A cutting pad paired with a heavier compound removes more defect, while a softer pad and lighter polish refines the finish. Matching the right pair to the defect is the core skill of correction.
Start with a mild combination and only step up in aggression if the mild approach does not clear the defect. This test spot approach saves clear coat and teaches you how your specific paint responds to different products.
Cutting Versus Finishing Steps
Heavier defects need a cutting stage first. Cutting compounds contain more abrasive material to remove deeper scratches quickly, which is why they often leave behind a light haze that must be refined afterward.
Once the cutting stage clears the defects, a finishing polish removes the haze and restores full gloss. Skipping this refinement leaves micro marring that becomes obvious in direct sunlight, so plan for both stages on serious defects.
Inspecting Your Work
Good inspection separates careful work from guesswork. A dedicated detailing light reveals swirls and holograms that normal garage lighting hides completely, so you can confirm a section is truly corrected before moving on.
Wipe the panel with a residue remover and inspect from multiple angles under strong light. If the defects are gone and no new marring appears, you are ready to refine or protect. If not, adjust your pad or product and try the section again.