Headlight Restoration Guide
Published How we research
Foggy, yellow headlights make even a well-kept car look aged, and worse, they cut your light output at night, which is a genuine safety issue. The good news is that the haze is almost always on the surface. Modern headlights are polycarbonate plastic with a protective factory coating, and when UV breaks that coating down the plastic oxidizes and clouds. Restoration removes the damaged layer and re-seals the plastic, and it costs a fraction of new lenses.
Understand what you are dealing with before you start. The yellowing lives in the top layer of the plastic, so restoration is essentially controlled sanding to remove that spoiled layer, followed by polishing to clarity and sealing to protect the fresh surface. Skipping the final seal is the single biggest mistake people make, because bare polycarbonate oxidizes again within weeks once the factory coating is gone.
Gather your supplies. You will want automotive masking tape, several grits of wet sanding sandpaper ranging from around 400 up to 2000 or 3000, a spray bottle of water, a plastic polish or compound, and a UV-resistant sealant or clear coat made for headlights. A drill or dual-action polisher with a small pad speeds up the polishing stage, but the whole job can be done by hand with patience.
Wash the lenses, dry them, then tape off the surrounding paint and trim generously. The sandpaper does not care whether it is grinding plastic or your bumper, so protect everything around the light. Start wet sanding with your lowest grit, keeping both the paper and the lens wet the entire time. Sand in straight, even strokes in one direction. The lens will look frosted and alarming, which is normal, because you are deliberately hazing it uniformly.
Step up through the grits in order, never skipping too far, and change sanding direction ninety degrees with each grit so you can see when you have removed the previous grit's scratches. Keep everything wet and rinse frequently. Each finer grit refines the scratch pattern left by the last, and by the time you reach your finest grit the lens should look uniformly frosted with very fine texture. Rinse and dry thoroughly.
Now polish the frosted lens back to clarity with a plastic polish on a pad or a microfiber, working the surface until the haze disappears and the lens turns clear again. This stage is where the transformation happens and it is genuinely dramatic. Wipe away all polish residue and make sure the surface is clean, dry, and free of oils, because the sealant needs a clean bond.
The final step protects your work. Apply a dedicated UV headlight sealant or clear coat according to its directions, laying down an even layer that shields the fresh plastic from sunlight. This is what determines whether your results last months or years versus fogging over by next season. Remove the tape, let everything cure fully, and you will have clear, bright headlights and better night vision for a small investment of effort.
Products from this article
The highest-scoring picks from the buying guides mentioned above. Scores are our editorial assessment, not customer ratings.
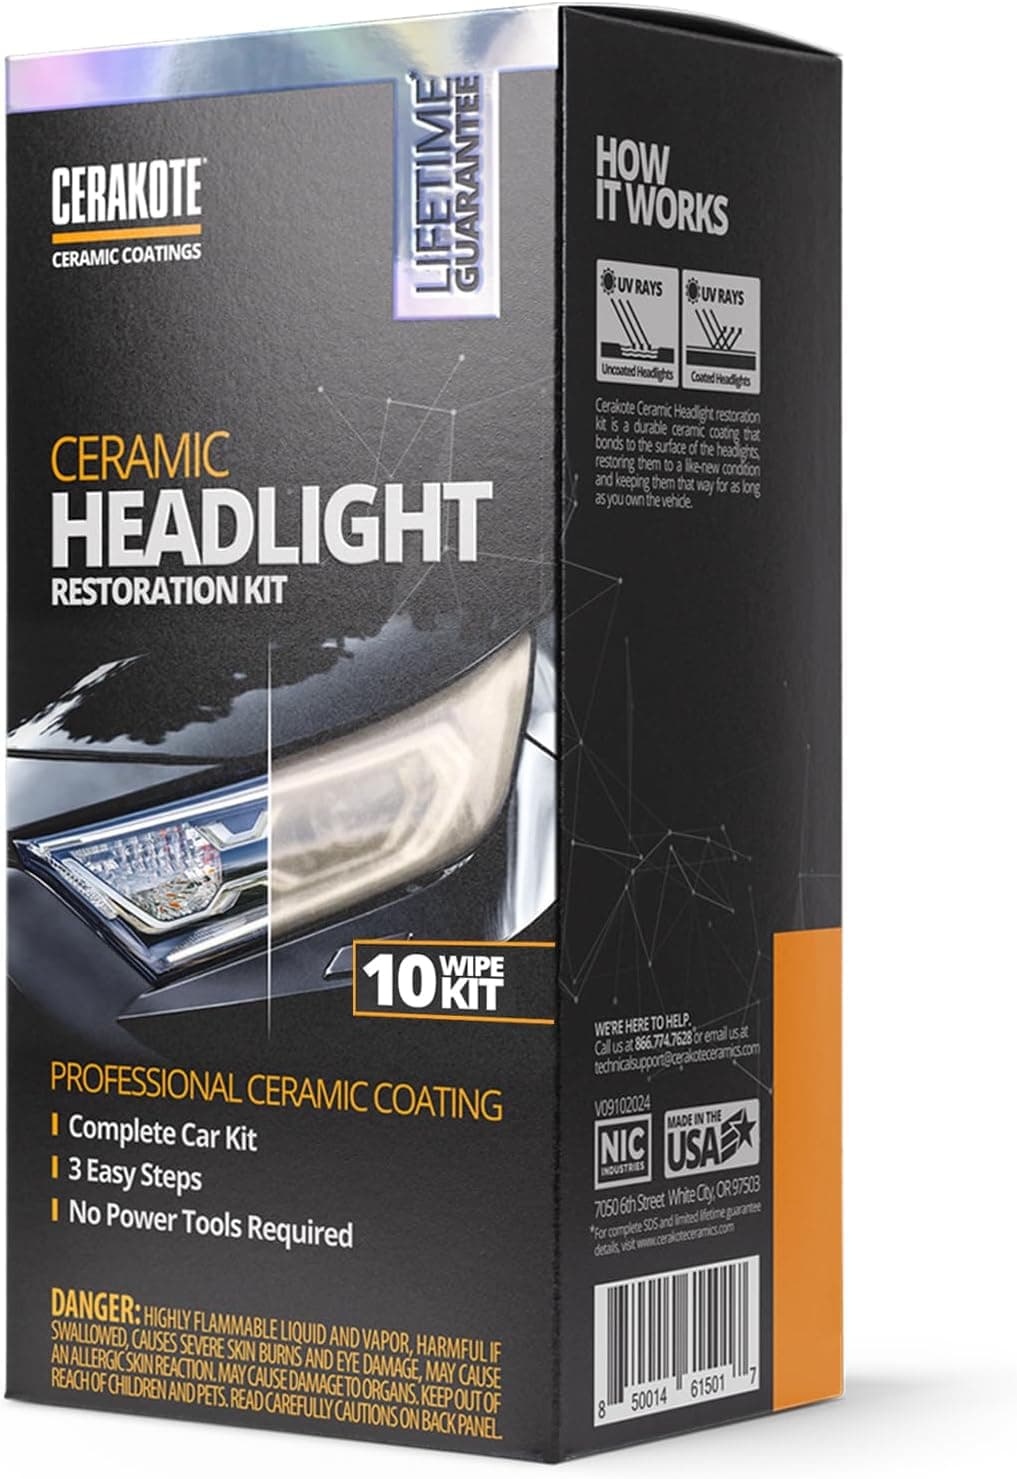
+ Ceramic coating step seals lenses for longer-lasting clarity
From our guide: Best Headlight Restoration Kits
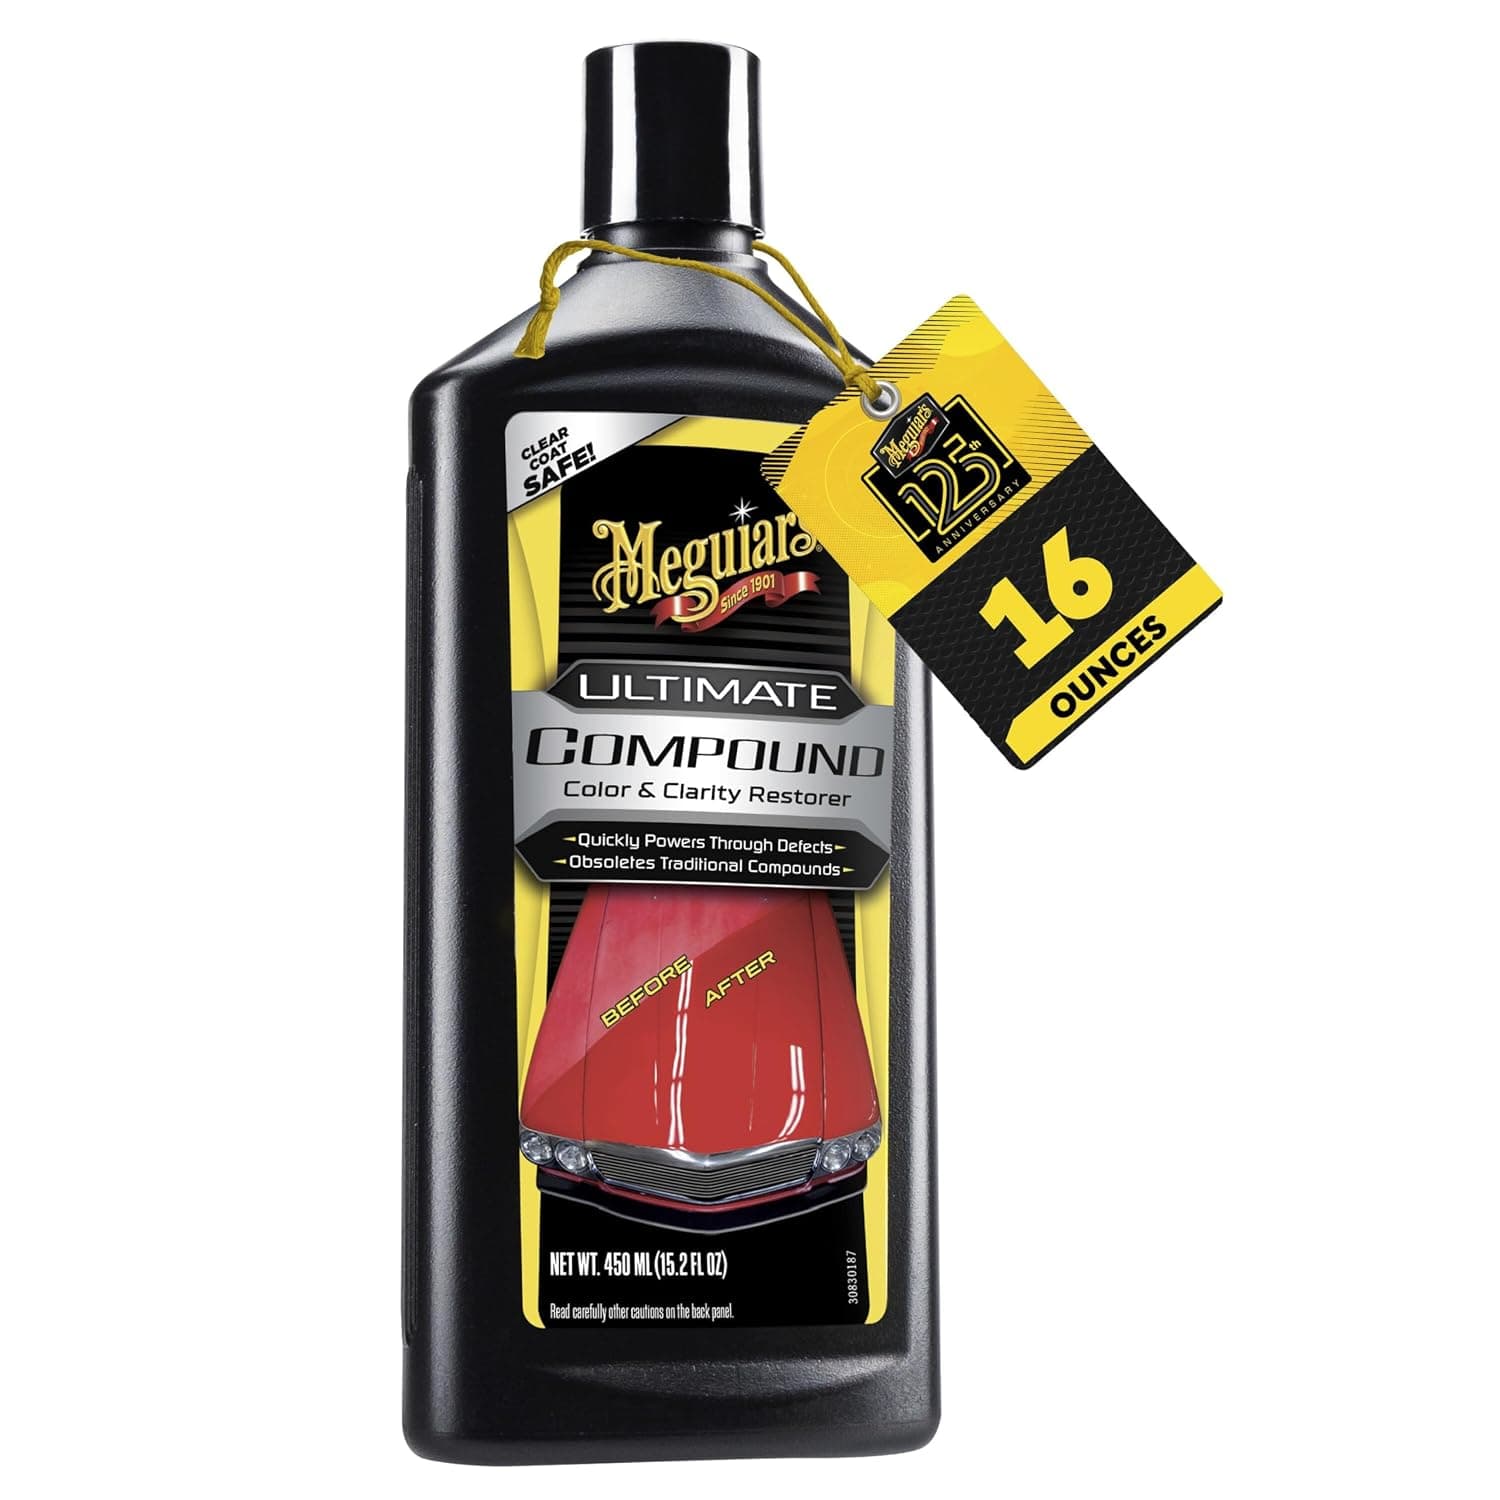
+ Pro-grade cut handles oxidation, swirls and moderate scratches
From our guide: Best Car Scratch Removers
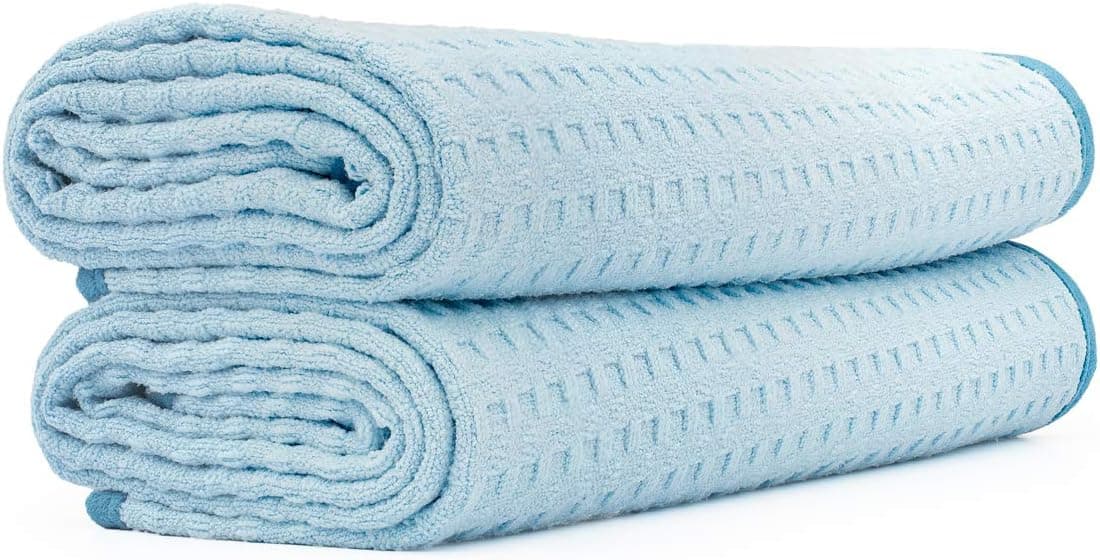
+ 70/30 blend balances absorbency with a soft touch on paint
From our guide: Best Microfiber Detailing Towels
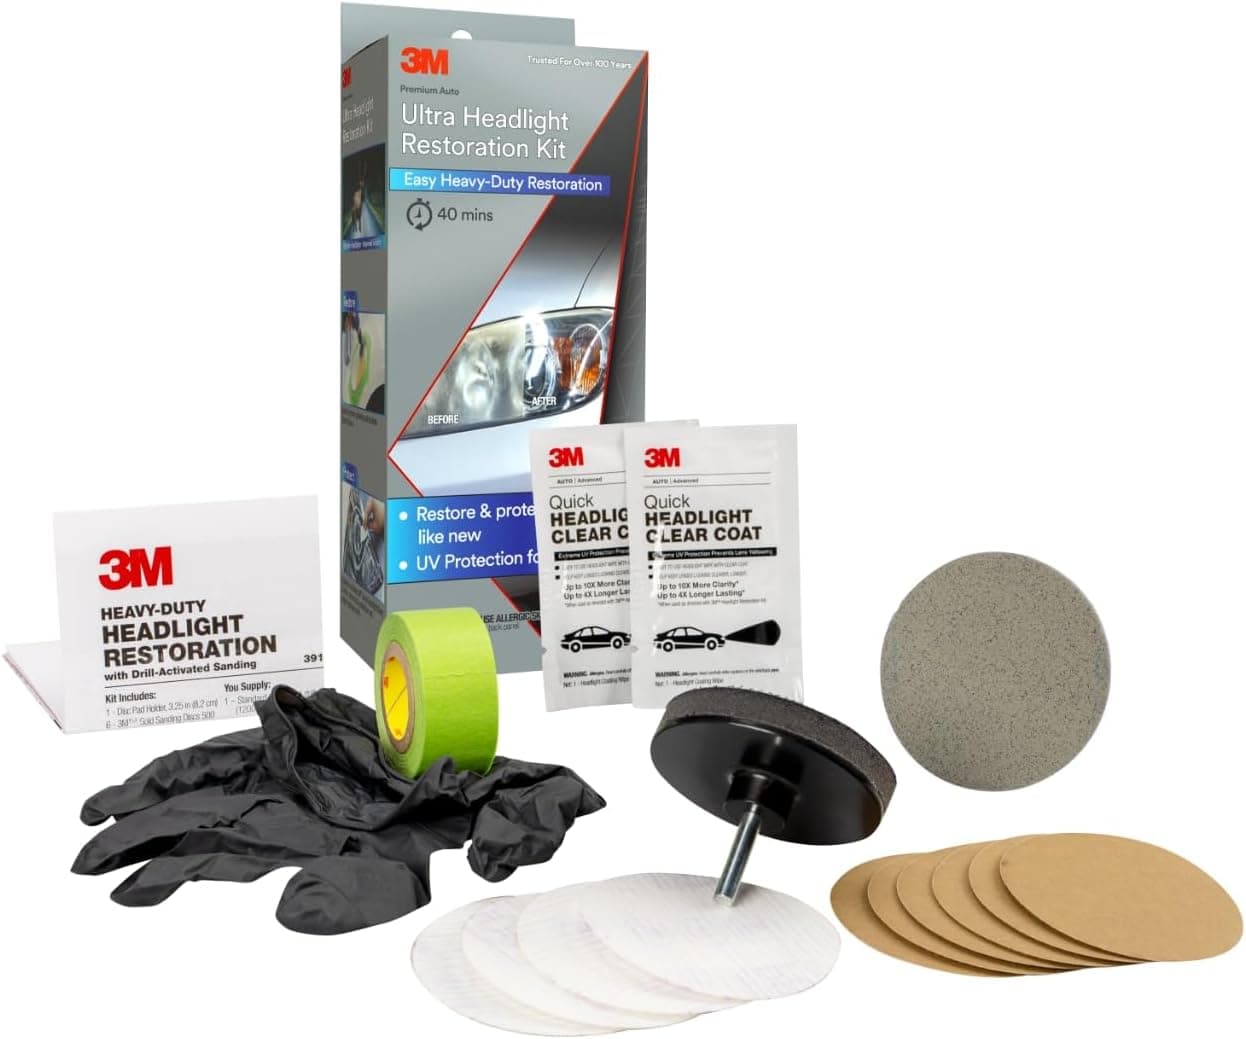
+ Ultra kit is built for severely yellowed and pitted headlights
From our guide: Best Headlight Restoration Kits
Popular right now
- Best Finishing Polishes for Maximum Gloss and ClarityBuying guide
- Best Spray Ceramic CoatingsBuying guide
- Cleaning Car Carpets and Fabric UpholsteryArticle
- Best Cutting Compounds for Removing Deep ScratchesBuying guide
- Best Car Scratch RemoversBuying guide
- Interior Detailing Step by StepArticle
Based on the last 28 days of search and visitor data.